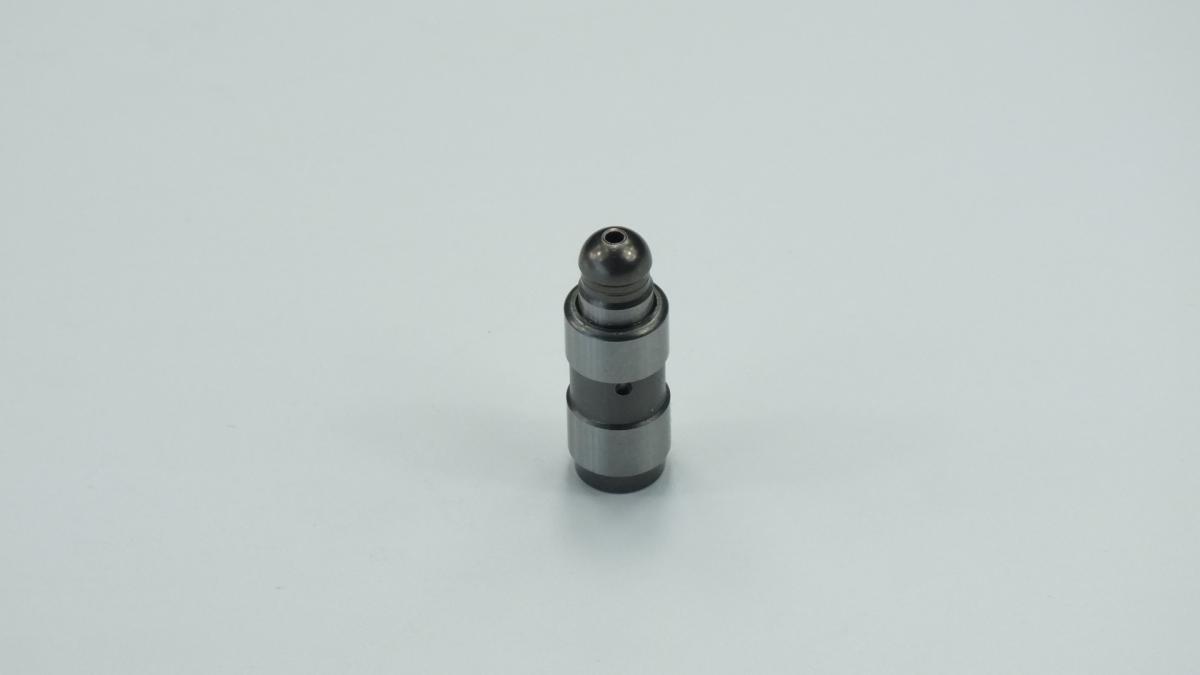
VAG/PORSCHE 059109521E ADJUSTER
Product Specifications
| VAG/PORSCHE | 059109521E |
| VAG/PORSCHE | 059109521B |
| VAG/PORSCHE | 059109521C |
| VAG/PORSCHE | 0640066 |
The ADJUSTER is the drum brake shoe adjuster — a threaded spreader mechanism positioned between the lower ends of the two brake shoes in a drum brake assembly that maintains the correct running clearance between the shoe lining surfaces and the brake drum inner diameter as the lining material wears progressively during service. The adjuster consists of a threaded rod with right-hand thread at one end and left-hand thread at the other, engaging two end caps whose outer faces bear against the lower shoe webs; a toothed star wheel or knurled adjuster body between the end caps provides the means for rotating the rod to extend or retract the overall adjuster length, changing the distance between the shoe lower ends and therefore the shoe-to-drum clearance. On manually adjusted systems a screwdriver or dedicated adjuster tool is inserted through the adjuster slot in the drum backing plate to rotate the star wheel until the drum slides over the shoes with light drag, confirming the correct clearance is achieved. On self-adjusting systems — now standard on all modern vehicles — the adjuster is connected to the handbrake lever or to a spring-loaded lever that rotates the star wheel automatically in response to the shoe-to-drum clearance becoming excessive: when the shoe lining wears sufficiently that the shoe travel during parking brake application exceeds a threshold, the self-adjuster lever advances the star wheel by one tooth, extending the adjuster length and reducing the shoe-to-drum clearance to the designed value without technician intervention.
This unit — VAG/PORSCHE 059109521E — is manufactured to OEM-equivalent specifications: adjuster body thread pitch and hand, end cap bearing face diameter and geometry for the shoe web contact, star wheel tooth count and pitch for the correct adjustment increment per tooth, overall minimum and maximum length range for the specific drum diameter and shoe thickness combination, and material — typically chromium-plated or zinc-plated steel — for corrosion resistance in the wet brake environment are matched to the original part. Supplied as a complete adjuster assembly. Available wholesale from 0.84 USD, MOQ 400 pcs, production lead time 60 days.
Drum brake adjusters fail through thread corrosion seizure from road salt and moisture that prevents the adjuster from extending under self-adjuster lever action, causing the shoe-to-drum clearance to grow progressively as the lining wears — the pedal travel increases noticeably as the clearance grows, and the parking brake effectiveness reduces; through star wheel tooth stripping from overtightening during manual adjustment that prevents any further adjustment; and through end cap bearing face wear that allows the adjuster to tilt in the shoe web pocket rather than transferring load evenly, eventually causing the adjuster body to crack under the asymmetric load.
- Note the adjuster's orientation before removal — it is handed left and right and may have a directional thread — drum brake adjusters on many vehicles have right-hand thread on one end and left-hand thread on the other, or are asymmetrically designed for the leading and trailing shoe positions; a reversal of left-right handedness installs the star wheel on the wrong side for the self-adjuster lever to contact, preventing automatic adjustment from the first use; confirm the correct orientation from the vehicle service data or by comparing the new adjuster to the removed unit before installation.
- Replace adjusters in axle pairs simultaneously — both rear drum brake adjusters accumulate the same corrosion and wear from identical environmental exposure; if one adjuster has seized, the opposite is at the same corrosion stage and will seize within a short interval; replacing both during a single drum removal operation ensures symmetric pedal feel and parking brake effectiveness on both rear wheels and eliminates a repeat drum removal within a short mileage.
- Apply copper-based anti-seize compound to the adjuster thread and to the end cap bearing face contact zones before installation — the anti-seize prevents the corrosion-induced thread seizure that caused the original adjuster failure; apply sparingly to the thread — do not pack the thread excessively as surplus compound can be displaced into the shoe lining contact zone and contaminate the lining; apply a thin film to the bearing face contact surfaces where the end caps bear against the shoe webs.
- Set the adjuster to approximately the correct extension length before fitting the shoes — measure the drum internal diameter with a drum micrometer or vernier calliper and set the adjuster extension to approximately 1–1.5 mm less than the drum diameter across the shoe faces; this initial setting allows the drum to be installed without excessive force while providing sufficient shoe-to-drum proximity for the self-adjuster to achieve correct clearance during the first brake application cycle.
- After drum installation, pump the brake pedal 10–15 times and apply the parking brake firmly 5 times to cycle the self-adjuster — on self-adjusting systems the self-adjuster lever advances the star wheel only during brake application; the initial adjustment cycles seat the shoes against the drum and advance the adjuster to the correct clearance; confirm the pedal feel is firm after the adjustment cycles — a pedal that remains long after 15 applications indicates the self-adjuster is not functioning and requires investigation.
- Install the new ADJUSTER (VAG/PORSCHE 059109521E) on both sides of the axle simultaneously, perform the initial adjustment cycling procedure, confirm firm brake pedal feel, test parking brake effectiveness on a gradient, confirm no brake drag by spinning the drum by hand — the drum should rotate with light but perceptible resistance; zero resistance indicates the shoes are not correctly adjusted; heavy resistance indicates the shoes are binding and the adjuster requires backing off — before returning the vehicle to service.
| Part | Reason for Combined Replacement |
|---|---|
| Brake Shoes Axle pair — OEM ref. varies by drum diameter | A seized adjuster that has not been compensating for lining wear has allowed the shoes to wear beyond the point where they would normally trigger a service — the adjuster failure masks the lining wear by maintaining the pedal feel through cable stretch rather than through correct shoe clearance. Measure the lining thickness when the adjuster is replaced; shoes that are at or below the minimum thickness require simultaneous replacement; shoes with uneven wear from incorrect shoe geometry from the adjuster failure also require replacement to restore correct contact pattern with the drum. |
| Brake Drum OEM ref. varies by axle and vehicle | A drum that has been in service with a seized adjuster may have developed an uneven wear groove inside its bore from the shoe that was pressing against it with a fixed geometry rather than the self-adjusting geometry. Measure the drum internal diameter at multiple points across its width and compare against the OEM maximum diameter — a drum worn beyond its maximum serviceable diameter is unsafe and must be replaced; a drum with a wear groove deeper than 0.3 mm requires replacement or machining to restore a flat contact surface for the new shoe lining. |
| Drum Brake Hardware Kit Return springs, hold-down springs, and pins | The drum brake return springs, hold-down springs, and retaining pins that are disturbed during adjuster replacement should be inspected and replaced where weakened from fatigue or corrosion. A return spring that has lost tension from heat cycling no longer returns the shoe promptly to its released position, maintaining residual shoe-to-drum contact that causes brake drag and accelerated lining wear. Including a complete hardware kit in every drum brake service ensures the complete mechanism operates with correct spring forces and that all corrosion-prone clips and pins are renewed at a single service operation. |