FIAT/ALFA/LANCIA 504384357 CLUTCH ASSY


Product Specifications
| FIAT/ALFA/LANCIA | 504384357 |
| FIAT/ALFA/LANCIA | 504005418 |
| FIAT/ALFA/LANCIA | 71724259 |
| FIAT/ALFA/LANCIA | 71721759 |
| FIAT/ALFA/LANCIA | 0000504384357 |
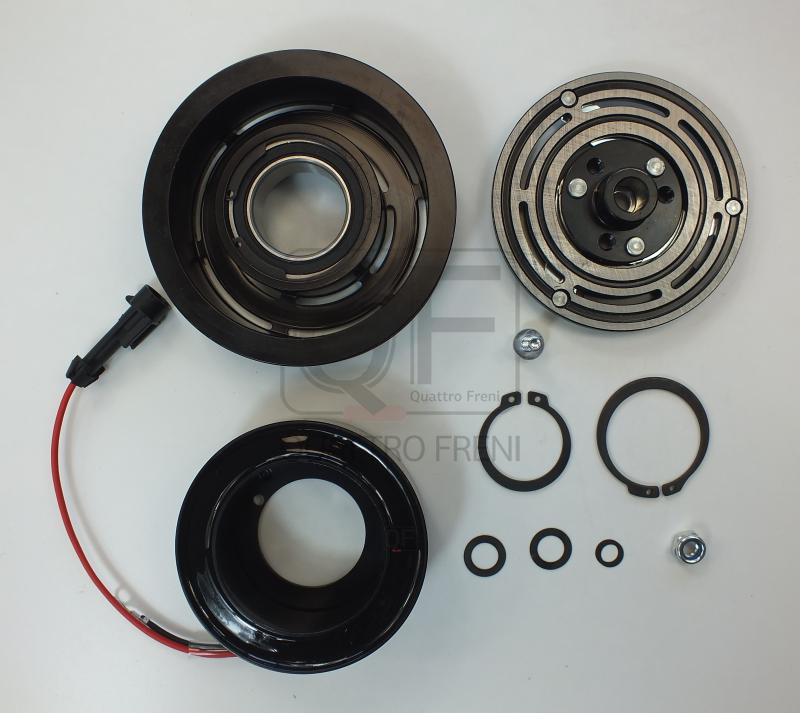
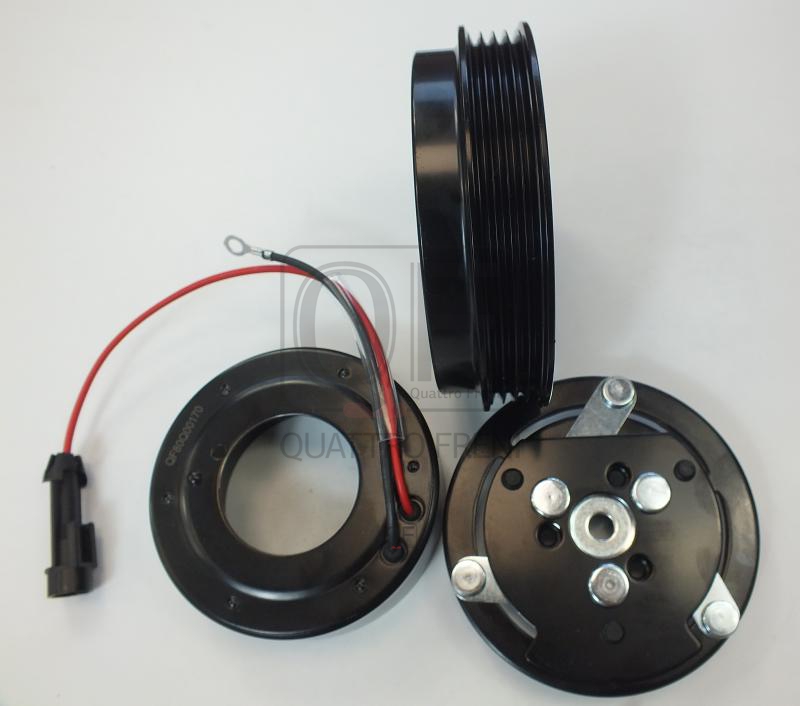
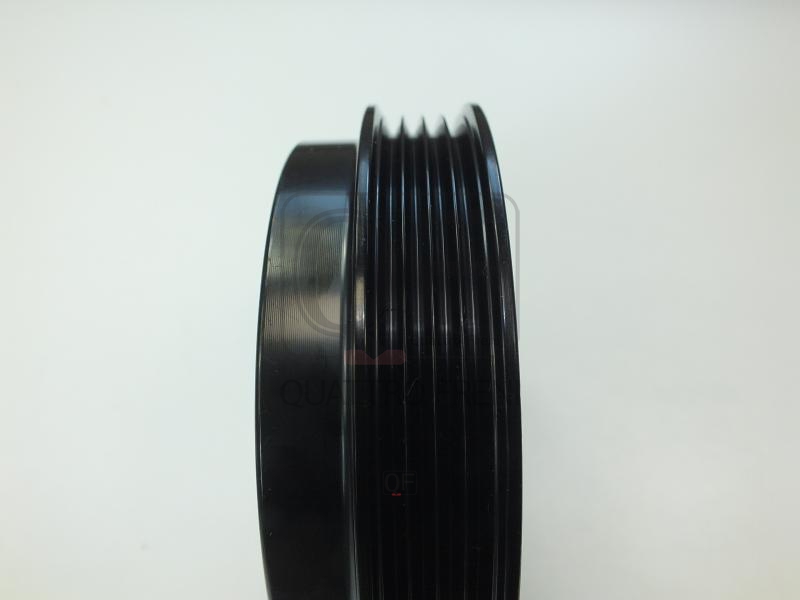
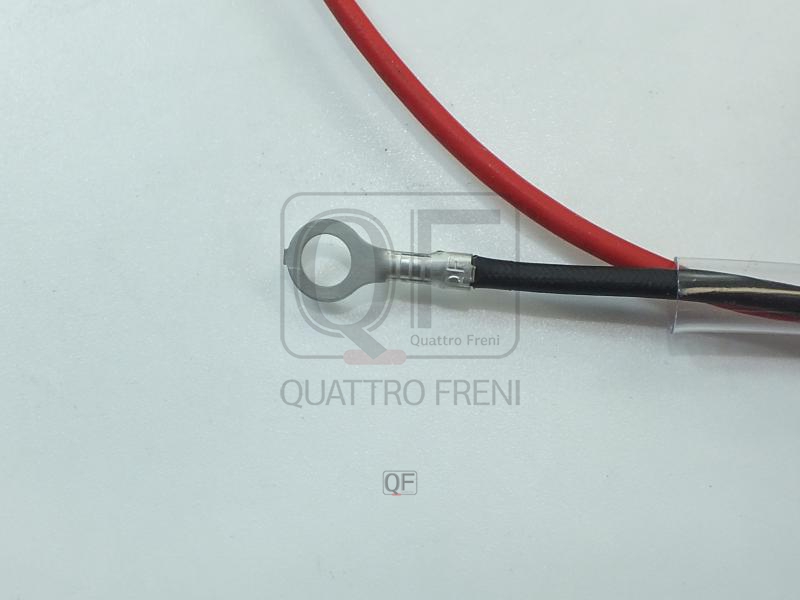
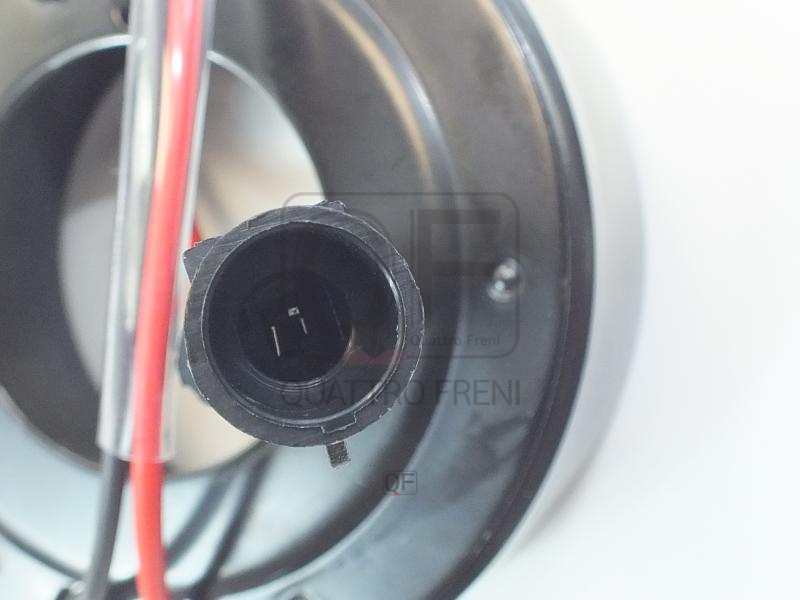
The CLUTCH ASSY is the electromagnetic clutch assembly mounted on the nose of the AC compressor shaft that engages and disengages the compressor from the engine accessory drive belt on command from the AC control module, allowing the compressor to be driven only when cooling is required without adding parasitic drag to the engine when the AC system is off. The assembly consists of three components: a rotor — a cast iron or pressed steel pulley that runs continuously on a bearing pressed onto the compressor nose and is driven by the accessory belt at all times regardless of AC status; an electromagnet coil housing mounted stationary on the compressor body behind the rotor that generates a magnetic field when energised by the AC relay; and a drive plate — a spring-steel disc bolted to the compressor shaft nose — that is attracted across the air gap to the rotor face when the coil is energised, coupling the rotor's rotational energy to the compressor shaft. The air gap between the drive plate and the rotor face is critical: the OEM-specified gap of 0.3–0.6 mm ensures the drive plate is fully released when the coil is de-energised and fully engaged without slipping when energised. A gap outside this range causes either dragging friction when disengaged or slipping and overheating when engaged.
This unit — FIAT/ALFA/LANCIA 504384357 — is manufactured to OEM-equivalent specifications: rotor outer diameter and belt groove profile, bearing inner and outer race dimensions, electromagnet coil resistance and ampere-turn rating, drive plate spring steel grade and friction face material, compressor shaft thread and hub spline dimensions, and air gap specification are matched to the original part. Supplied as a complete assembly or as individual components depending on the failure mode. Available wholesale from 20.93 USD, MOQ 50 pcs, production lead time 40 days.
AC compressor clutch assemblies fail through drive plate friction face glazing or burning from repeated slip events caused by an oversized air gap or low coil voltage, rotor bearing failure producing a characteristic continuous squeal from the belt area that changes pitch when the AC is switched on, electromagnet coil open-circuit or short-circuit failure preventing engagement, and drive plate hub key shear from a seized compressor applying full belt load against a locked shaft. Always diagnose whether the failure is isolated to one component — coil, bearing, or drive plate — before replacing the complete assembly, as individual components are available separately and represent significantly lower cost than a complete clutch.
- Confirm the AC compressor shaft rotates freely by hand before fitting the new clutch — grip the old drive plate or the shaft directly after removing the old assembly and rotate; a shaft that is stiff, gritty, or completely seized indicates internal compressor failure; fitting a new clutch to a seized compressor will destroy the new drive plate hub key within the first engagement cycle and may throw the accessory belt.
- Remove the drive plate using a dedicated clutch hub puller — never use a hammer or pry bar to remove the drive plate from the shaft as this damages the compressor shaft thread and distorts the hub; thread the puller into the drive plate hub centre thread and apply steady pulling force until the hub releases from its taper or spline fit on the shaft.
- Remove the rotor and bearing assembly using a rotor puller after unbolting the electromagnetic coil housing — the rotor bearing outer race is an interference fit on the compressor nose; use the correct puller to apply force to the bearing inner race through the rotor hub; never strike the rotor casting as this cracks the rotor and damages the bearing race seats on the compressor nose.
- Press the new rotor bearing onto the compressor nose using a bearing driver of the correct inner race diameter — apply force only to the bearing inner race; pressing through the outer race distorts the bearing and produces immediate noise on first operation; confirm the bearing seats flush against its shoulder on the compressor nose before fitting the coil housing.
- Set the drive plate air gap to the OEM specification using feeler gauges after fitting the drive plate hub onto the shaft — the gap is adjusted by adding or removing the thin shim washers supplied with the clutch kit between the hub and the shaft shoulder; measure the gap at three equally spaced points around the circumference and confirm it is uniform to within 0.1 mm to prevent uneven engagement load on the drive plate springs.
- Install the new CLUTCH ASSY (FIAT/ALFA/LANCIA 504384357), energise the coil by applying 12V directly to the coil connector and confirm the drive plate snaps to the rotor cleanly with a single click and no slip, refit and tension the accessory belt, recharge the AC system if it was opened during access, and verify AC cooling performance across the full temperature range before returning the vehicle to service.