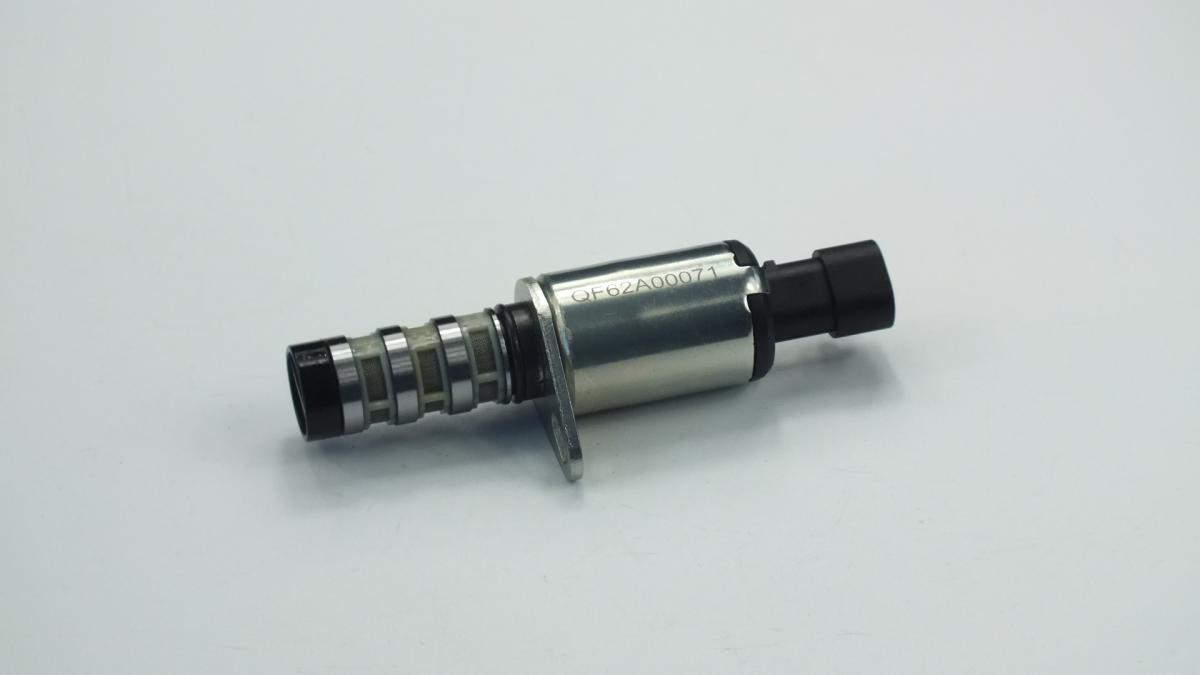
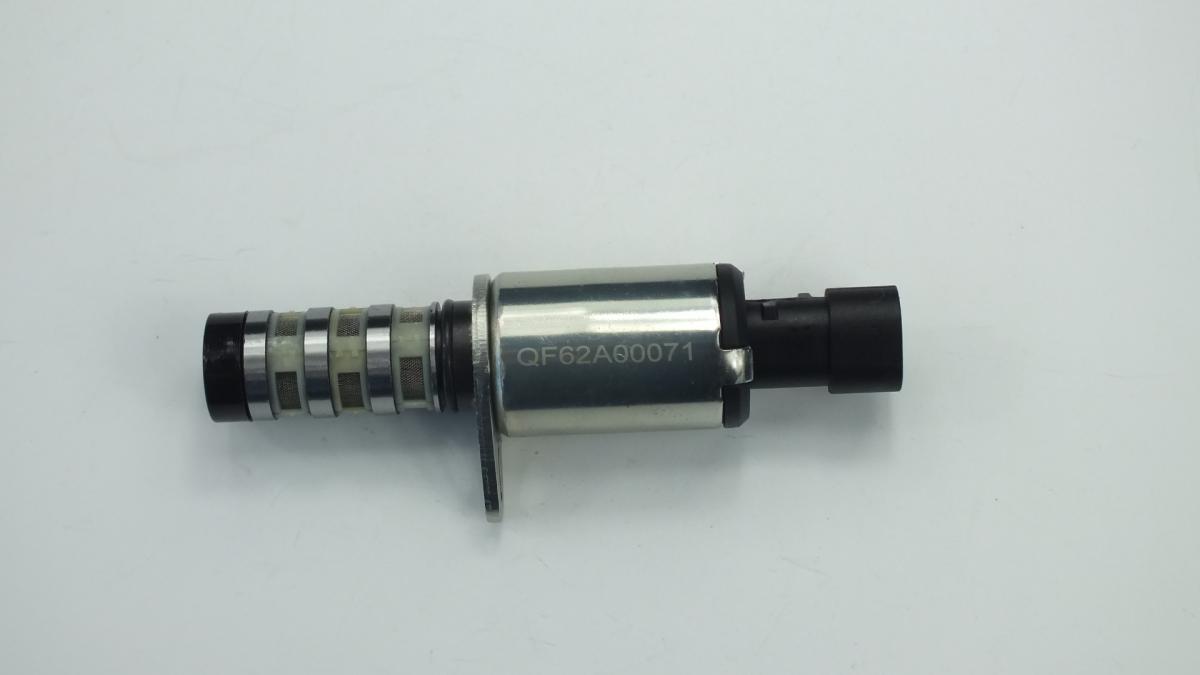
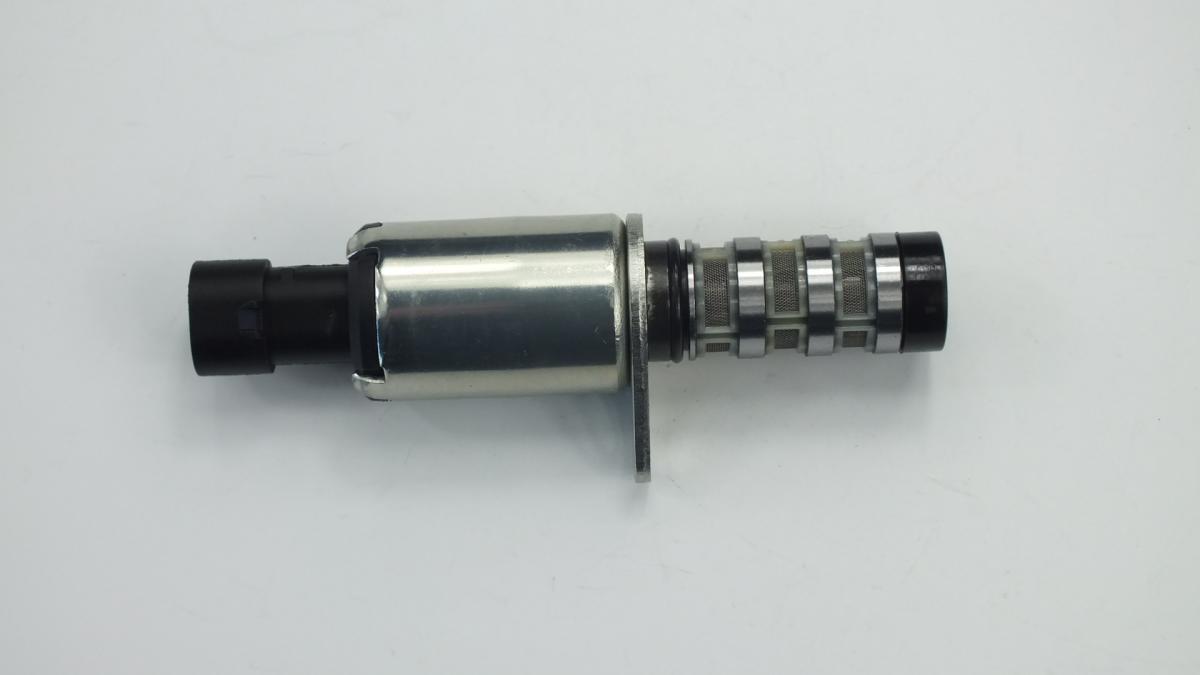
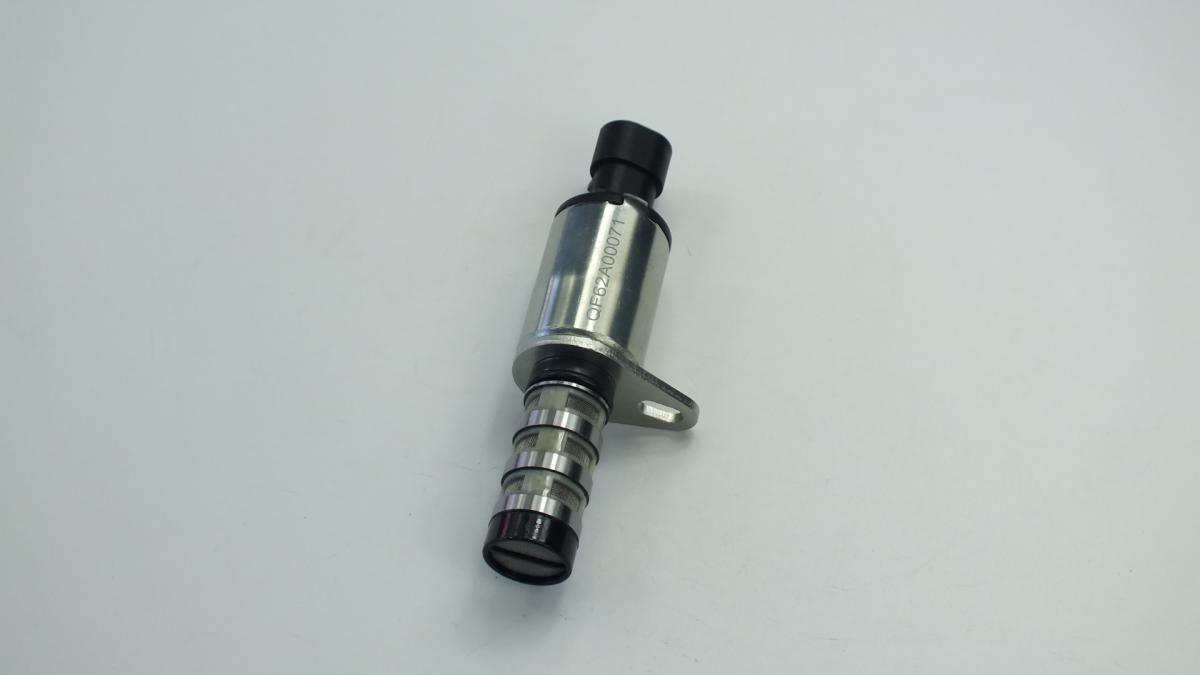
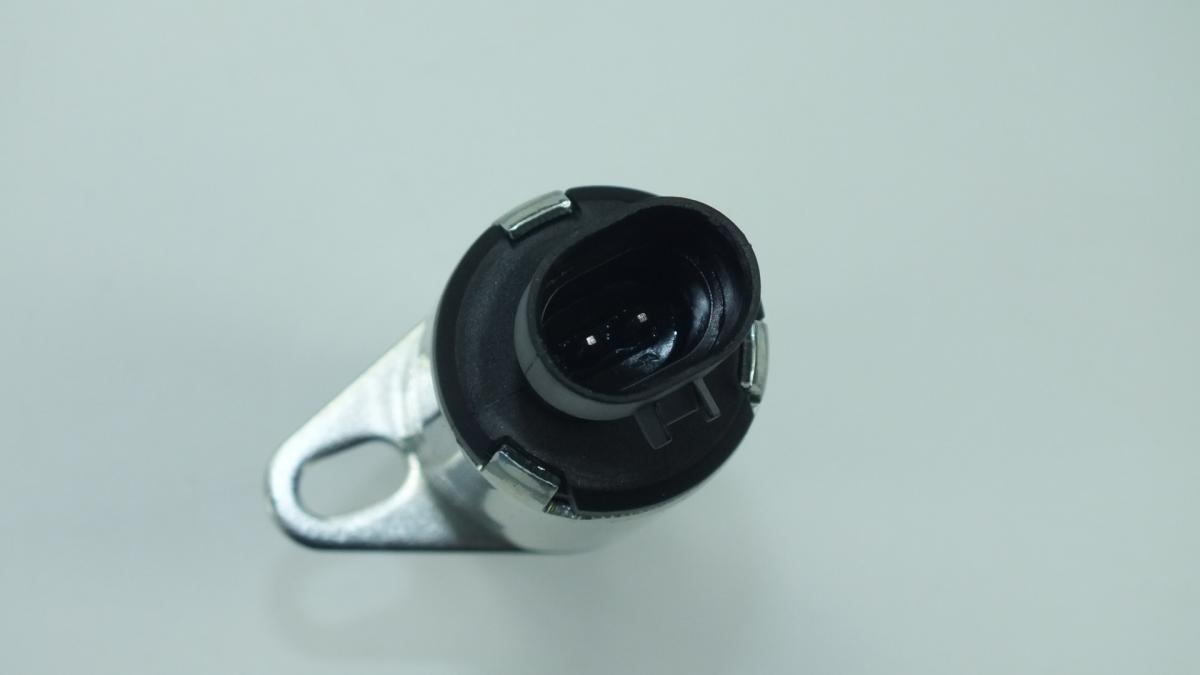
FIAT/ALFA/LANCIA 55190509 VALVE
Product Specifications
| FIAT/ALFA/LANCIA | 55190509 |
| FIAT/ALFA/LANCIA | 55209166 |
| FIAT/ALFA/LANCIA | 55209167 |
| FIAT/ALFA/LANCIA | 0000055190509 |
The VALVE is a cast aluminium or engineering polymer coolant system flange that provides a sealed, structurally rigid connection point between the engine's internal coolant passages and the external cooling circuit — hoses, pipes, thermostatic housings, and auxiliary circuits — at a specific location in the cooling system layout. Coolant flanges appear at multiple positions on the engine including the cylinder head coolant outlet, the block lower return inlet, the thermostat housing junction, the heater circuit take-off, the turbocharger coolant feed, and the crossover pipe connections between engine banks on V-configuration engines; each position has a dedicated flange geometry matched to the local casting interface, hose sizes, and sensor boss requirements at that point. The flange body integrates a flat sealing face — sealed to the engine casting by a formed rubber gasket or RTV sealant — one or more hose stubs for circuit connections, and threaded bosses for coolant temperature sensors or bleed screws where the installation position requires them. The assembly operates continuously at coolant temperatures of 85–115°C and system pressures of 1.0–1.4 bar, sealing the pressurised circuit through thousands of thermal expansion and contraction cycles across the engine's service life.
This unit — FIAT/ALFA/LANCIA 55190509 — is manufactured to OEM-equivalent specifications: casting profile and sealing face flatness, mounting bolt pattern, hose stub outer diameter and retention geometry, sensor and bleed screw boss thread sizes and positions, material grade for OAT and HOAT coolant compatibility, and overall assembly dimensions for correct fitment at the designated cooling circuit position are matched to the original part. Supplied as a direct replacement for standard fitment. Available wholesale from 7.1 USD, MOQ 10 pcs, production lead time 20-45 days.
Coolant flanges fail through external corrosion perforation of the aluminium casting from road salt and depleted acidic coolant; through cracking of the casting body at stress concentrations around hose stubs, sensor bosses, or mounting bolt holes from overtightening, impact, or thermal fatigue; and through sealing face warping from previous overheating events. A leaking coolant flange loses coolant progressively — at first as a seep detectable only by a white crystalline mineral deposit on the housing surface, later as an active drip that contacts hot exhaust components or the accessory belt. A coolant-wetted accessory belt loses friction immediately and must be replaced simultaneously with the flange repair.
- Allow the engine to cool fully and drain the coolant to below the flange level before removal — coolant flanges at the cylinder head outlet or thermostat housing position are at the highest point of the circuit; removing them from a hot pressurised system releases coolant at 110–120°C; confirm the system is fully cold and the expansion tank cap releases without pressure resistance before loosening any bolt or hose clamp.
- Clean the mating face on the engine casting meticulously after removing the old flange — use a plastic scraper on aluminium and a brass scraper on cast iron; finish with brake cleaner on a lint-free cloth to remove all oil film; any residual gasket material, sealant ridge, or contamination on the mating face prevents the new flange gasket from achieving uniform sealing contact and creates an immediate leak path.
- Verify the engine casting mating face flatness with a straight edge and 0.05 mm feeler gauge before fitting the new flange — a head or block face warped from a previous overheating event cannot be sealed by any gasket regardless of quality; if flatness is outside tolerance, the face requires machining before the new flange is installed.
- Transfer all sensors, bleed screws, and auxiliary fittings to the new flange before installation — apply PTFE tape or thread sealant to each port as specified by the OEM; torque sensors to their specified value using a thin-wall socket; confirm all ports are leak-free before bolting the flange to the engine.
- Torque all flange mounting bolts in a diagonal sequence in two passes to the OEM specification — first pass to 50% of final torque to seat the gasket uniformly, second pass to full torque; typical values are 8–15 Nm into aluminium; overtightening crushes the gasket beyond its designed compression zone and distorts the flange sealing face, producing a repeat leak at the next heat cycle.
- Install the new VALVE (FIAT/ALFA/LANCIA 55190509), reconnect all hoses with new clamps where required, refill with fresh coolant of the correct specification and concentration, bleed the system fully with the heater on maximum, start the engine and run to full operating temperature, pressure-test to 1.2 bar, and inspect all flange faces and hose connections for seepage before returning the vehicle to service.
| Part | Reason for Combined Replacement |
|---|---|
| Coolant Hose Application-specific — hose connected to the failed flange | The coolant hose directly connected to the failed flange is disturbed during every flange replacement and should be inspected simultaneously for internal hardening, surface cracking, and swelling at the hose clamp zone. A hose that has been in contact with degraded coolant for the same service life as the failed flange may have experienced internal rubber delamination that cannot be detected externally; replacing the hose simultaneously with the flange eliminates a hose failure within a short interval that would require a repeat coolant drain. |
| Coolant Temperature Sensor OEM ref. varies — where integrated in the flange | Where the coolant temperature sensor is mounted in the flange body, it is disturbed at every flange replacement and should be inspected for resistance drift using a multimeter before refitting. A sensor that has been operating in depleted coolant alongside the failed flange will have the same calibration drift from coolant chemical attack. Replacing both simultaneously during the same access operation is more cost-effective than addressing a drifted sensor as a separate follow-on fault. |
| Coolant (Engine Antifreeze) OAT or HOAT per OEM specification | A coolant flange that has failed from corrosion is invariably surrounded by coolant that has depleted its corrosion inhibitor package and become acidic. Refilling with the same degraded coolant after flange replacement immediately begins attacking the new aluminium casting through the same mechanism that caused the original failure. Always renew the coolant completely when replacing a flange that has failed from corrosion, using the correct OEM coolant type and concentration to protect the new component. |