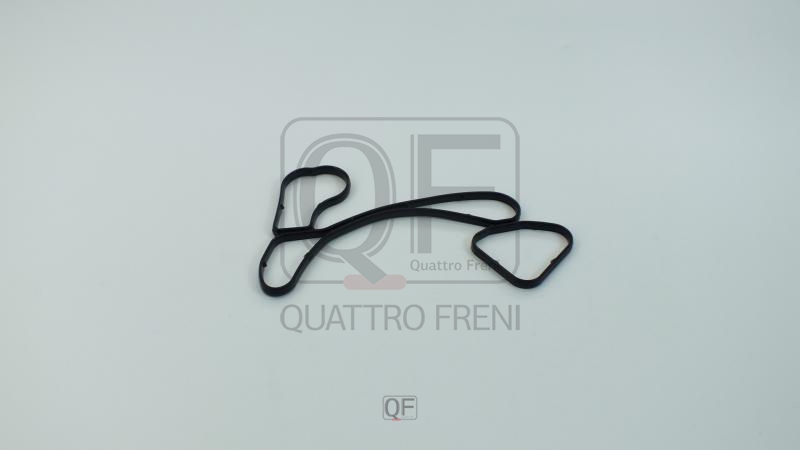
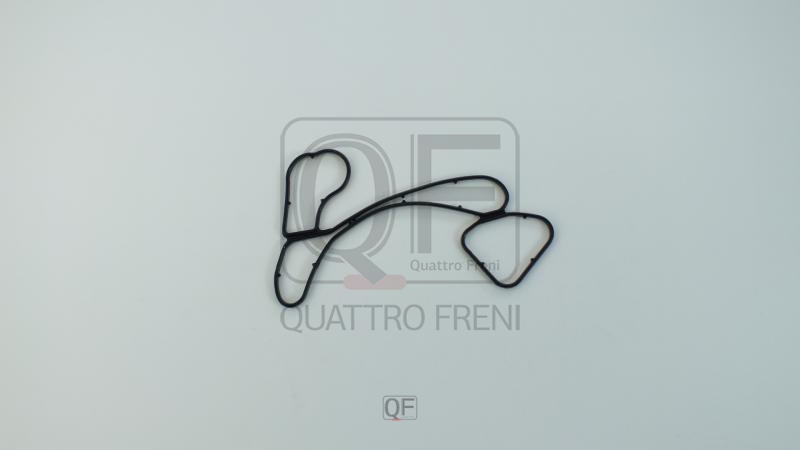
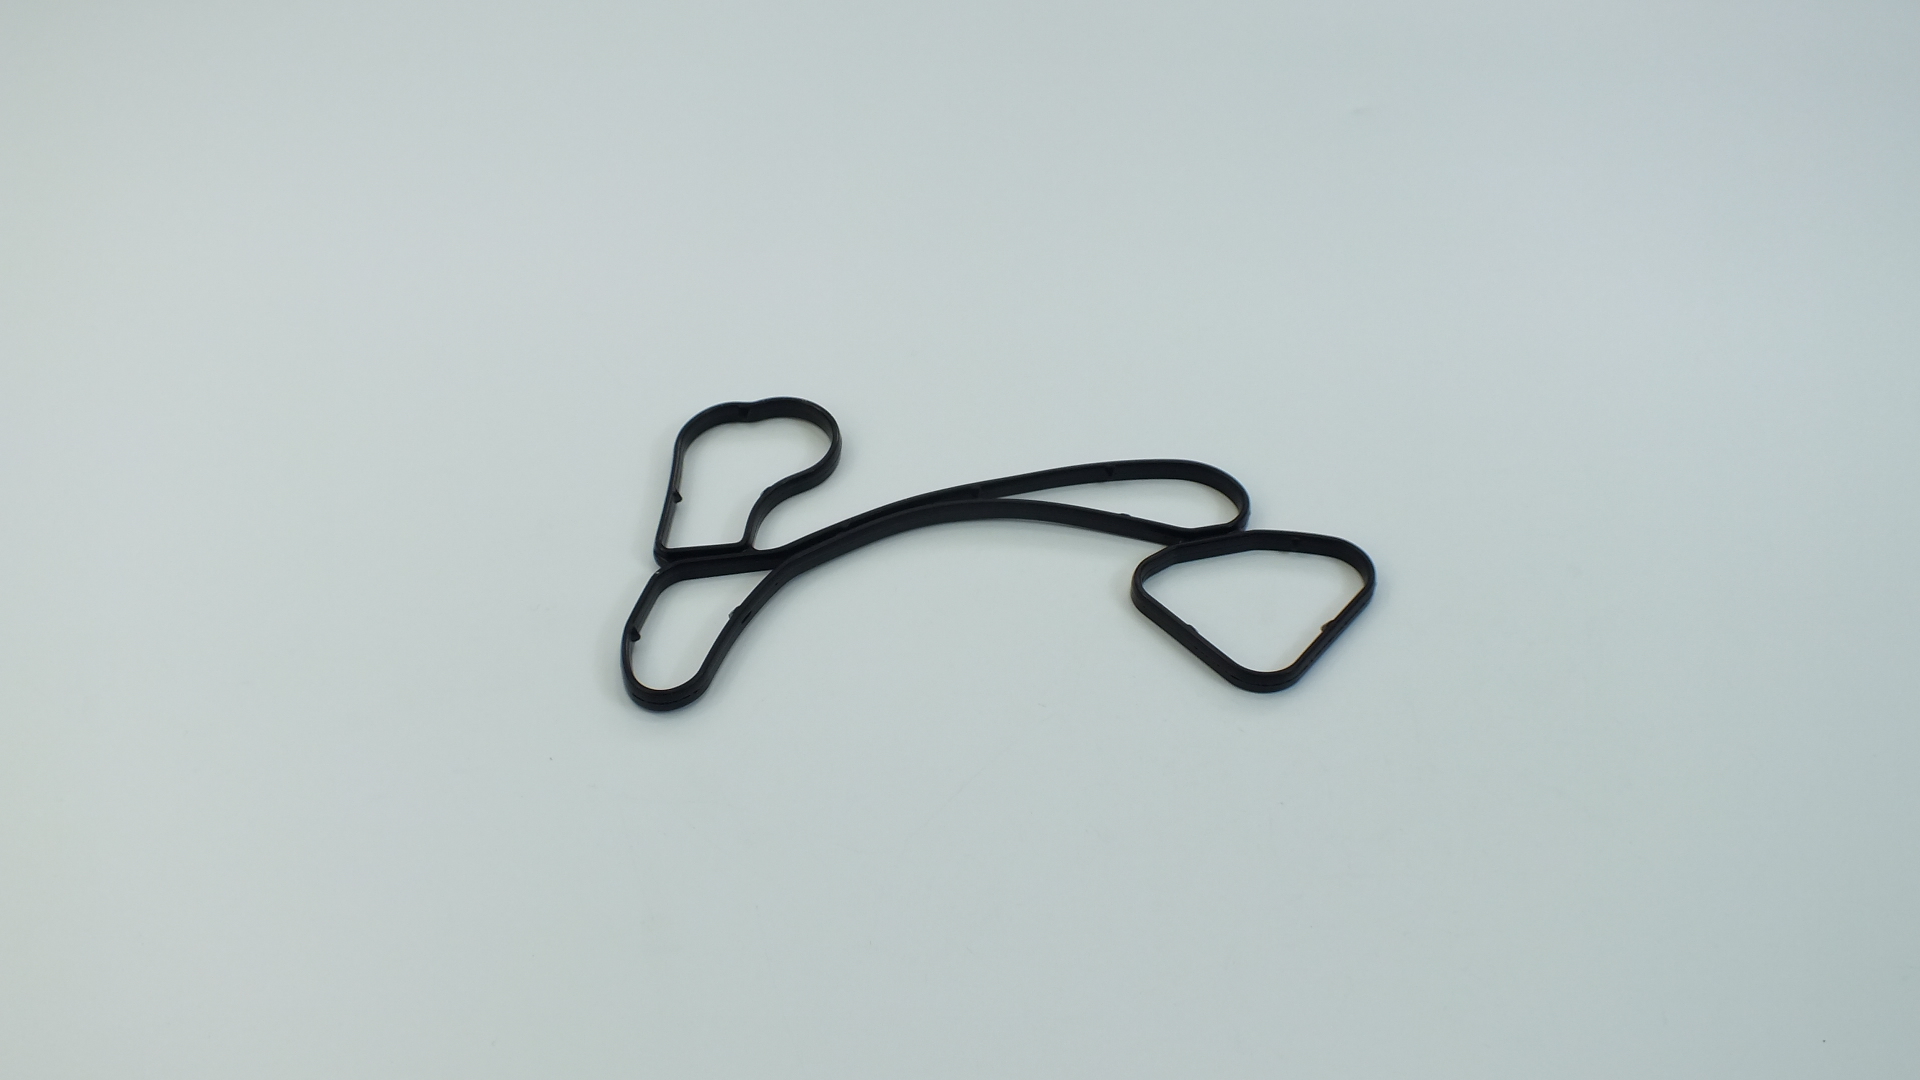
VAG/PORSCHE 059117070B SEAL

Product Specifications
| VAG/PORSCHE | 059117070B |
| VAG/PORSCHE | 95810717620 |
| VAG/PORSCHE | 059117070A |
The SEAL is a radial shaft oil seal — also called a lip seal or rotary seal — that prevents the migration of oil, grease, or transmission fluid from a rotating shaft assembly to the exterior environment by maintaining continuous dynamic contact between a precision-formed elastomeric lip and the polished running surface of the rotating shaft. The seal body consists of an outer metal case — pressed from steel and coated for corrosion resistance — that provides a static interference fit with the bore of the housing (engine block, timing cover, differential housing, wheel bearing carrier, or axle tube) into which it is installed; and one or more elastomeric sealing lips moulded from nitrile rubber (NBR), fluoro-elastomer (FKM/Viton), or PTFE depending on the operating temperature, speed, and fluid compatibility requirements of the specific installation. The primary sealing lip is spring-loaded by a garter spring behind the lip that maintains constant radial contact force against the shaft surface across the full range of shaft runout, thermal expansion, and lip wear throughout the seal's service life; a secondary dust exclusion lip — typically without a garter spring — faces outward to prevent road grit, water, and abrasive particles from reaching the primary lip from the environment side. Radial shaft seals of this type are used at every location in the drivetrain where a rotating shaft exits a housing containing oil or grease: crankshaft front and rear, camshaft ends, transmission input and output shafts, differential pinion and side gears, driveshaft inner and outer stubs, wheel bearing axle shafts, and transfer case input and output.
This unit — VAG/PORSCHE 059117070B — is manufactured to OEM-equivalent specifications: outer case diameter and interference fit tolerance for housing bore engagement, bore depth and case width, shaft bore diameter and lip contact diameter, primary lip material compound and hardness, garter spring load, dust lip geometry, and maximum rated shaft speed and operating temperature are matched to the original part. Supplied individually as a direct replacement for standard fitment. Available wholesale from 1.39 USD, MOQ 200 pcs, production lead time 20-50 days.
Radial shaft seals fail through primary lip wear and hardening from heat and oil additive attack — the lip material loses its elastic conformability and develops a permanent set at the shaft contact diameter, destroying the dynamic sealing contact; through shaft surface wear groove formation where the lip has been running at the same axial position for an extended period, creating a wear track that any new seal lip will fall into and immediately leak; and through garter spring fatigue or corrosion that reduces the spring's radial contact force below the minimum required to maintain sealing contact across the full shaft runout cycle. A shaft with a visible wear groove at the seal lip contact zone requires either a repair sleeve (speedi-sleeve) pressed over the worn zone or shaft replacement — installing a new seal on a grooved shaft produces an immediate leak as the lip sits in the groove rather than forming a new contact path.
- Inspect the shaft running surface at the seal lip contact zone before installing the new seal — run a fingernail circumferentially around the shaft at the exact lip contact diameter; any groove, step, or rough texture detectable by fingernail will cause an immediate leak on the new seal as the lip drops into the groove rather than forming a new sealing contact; a grooved shaft requires a thin stainless steel repair sleeve pressed over the worn zone before the new seal is installed — this is not optional.
- Remove the old seal using a seal puller or a pick tool inserted behind the seal case — never drive the old seal out from the front using a screwdriver pried against the lip; this damages the bore chamfer and raises a burr on the housing bore that prevents the new seal's outer case from seating flush; always extract from behind or use a dedicated seal removal tool that engages the case without contacting the bore wall.
- Clean the housing bore meticulously and inspect it for scoring and out-of-round distortion before installing the new seal — a scored bore reduces the interference fit between the new seal's outer case and the housing, allowing the seal to rotate in the bore or leak around the outer case; measure the bore diameter at two perpendicular orientations; if the bore is oval or scored beyond 0.05 mm, the housing requires machining before the new seal is installed.
- Apply a thin film of clean engine oil or transmission fluid — as appropriate for the application — to the seal lip and to the shaft running surface immediately before installation — never install a seal dry; a dry lip on a rotating shaft generates friction heat that destroys the elastomeric compound within seconds of first rotation; apply the same fluid that the seal will be containing — do not use grease on a seal designed to run against oil, as grease can swell some lip compounds.
- Press the new seal squarely into the bore using a dedicated seal driver of the correct diameter — the driver must contact the seal's outer case face uniformly around its full circumference; a driver that contacts only one side tilts the seal in the bore, producing a leak path on the opposite side; drive the seal to the correct depth — flush with the housing face or to the OEM-specified depth below flush — using a depth stop or by measuring with a straightedge; an under-driven seal protrudes from the bore and the rotating shaft contacts the case rather than the lip.
- Install the new SEAL (VAG/PORSCHE 059117070B), reassemble all disturbed components in reverse order, refill oil or grease to the correct level, run the engine or drive for 5 minutes, and inspect the seal area carefully for any sign of seepage before returning the vehicle to service; a correctly installed seal on a sound shaft shows no weeping whatsoever from the first revolution.
| Part | Reason for Combined Replacement |
|---|---|
| Shaft Repair Sleeve (Speedi-Sleeve) Stainless steel press-on sleeve — shaft diameter specific | A shaft with a visible wear groove at the old seal lip contact zone will cause an immediate leak on any new seal regardless of quality. A thin-wall stainless steel repair sleeve pressed over the worn shaft zone provides a new, perfectly smooth running surface for the new seal lip at a fraction of the cost of shaft replacement. Always inspect the shaft for groove depth before installing a new seal — if a groove is detectable by fingernail, fit a repair sleeve before the seal. |
| Bearing at the Sealed Shaft Position Application-specific — wheel bearing, differential pinion bearing | Excessive shaft radial runout from a worn bearing causes the seal lip to lift away from the shaft surface on each revolution, producing a leak that no new seal can resolve. On wheel bearing and differential pinion seal positions where the bearing and seal are both accessible during disassembly, inspect the bearing for play and noise simultaneously with the seal replacement. A bearing with measurable radial play must be replaced alongside the seal to provide a stable shaft on which the new lip can maintain contact. |
| Accessory Drive Belt OEM ref. varies — front crankshaft seal applications | A front crankshaft seal failure deposits oil on the accessory belt through centrifugal action from the rotating crankshaft pulley. An oil-contaminated belt loses friction at all pulley contact points and must be replaced — it cannot be cleaned or restored. Replacing the accessory belt simultaneously with the front crankshaft seal during the same timing cover access operation completes the front engine service and eliminates belt slip as a post-repair symptom. |