VAG 1K0498103 DRIVE SHAFT BOOT

Product Specifications
| VAG | 1K0498103 |
| VAG | 191498103C |
| LYNXAUTO | CI8008 |
| FEBEST | 1417PNA |
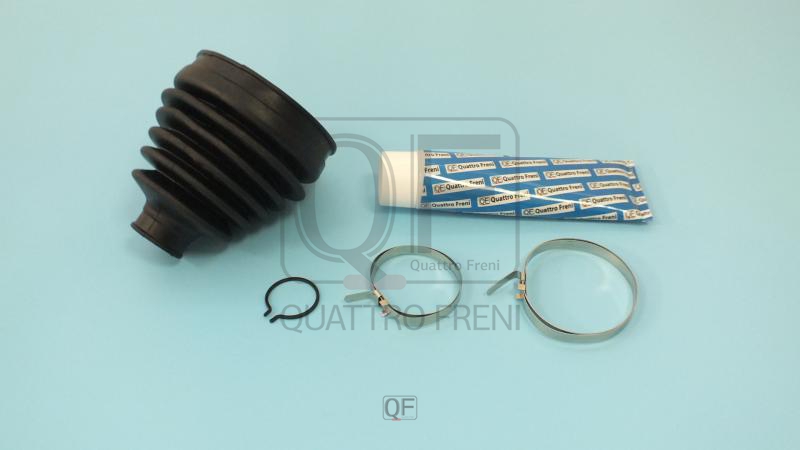
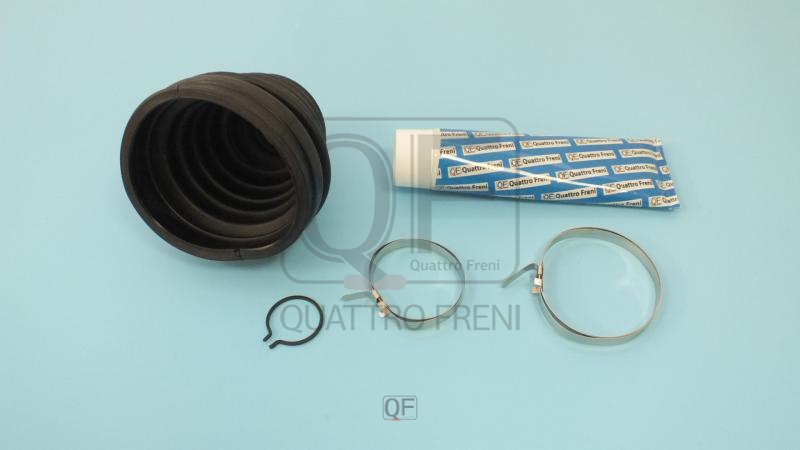
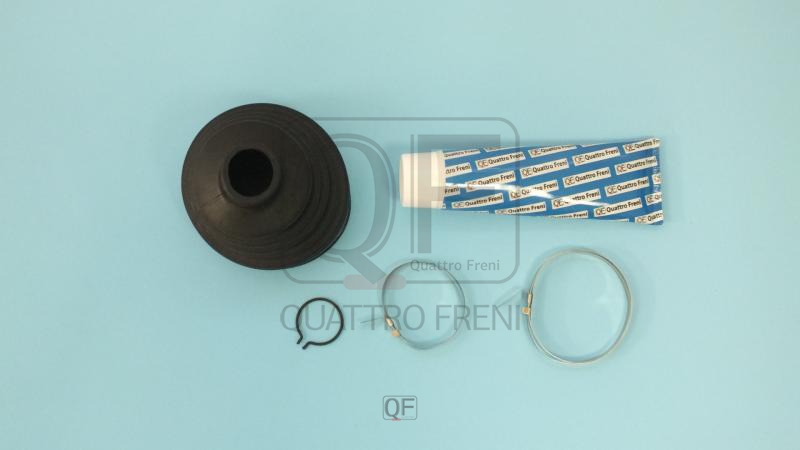
The DRIVE SHAFT BOOT is a CV joint protective boot — a pleated rubber or thermoplastic elastomer accordion sleeve that seals the constant velocity joint against contamination ingress and retains the specific grease lubricant packed inside the joint. The CV joint is a precision mechanical assembly of steel balls running in grooved races that transmits engine torque through the driveshaft to the driven wheel at a constant rotational velocity regardless of the joint's operating angle — which changes continuously as the suspension travels and the front wheels steer. The joint's internal components — balls, races, and cage — operate under extreme contact stress and require continuous lubrication by a specific molybdenum disulphide or lithium complex grease that maintains the required film thickness at the ball-to-race contact zones; this grease must remain contained within the joint and must not be contaminated by water, road grit, or road salt, all of which are abrasive and remove the lubricant film, causing the ball-to-race contact zones to wear within a short operating period. The boot performs this sealing and retention function across the joint's full angular range — typically 0–8° for inner tripod joints and 0–47° for outer ball-and-groove joints — by flexing through its accordion profile on every suspension and steering movement without cracking, splitting, or allowing the grease to escape through the bellows folds. The boot is retained at its large-diameter end on the joint housing and at its small-diameter end on the driveshaft by crimp-type or screw-type steel retaining bands that provide a controlled clamping force without cutting into the boot rubber.
This unit — VAG 1K0498103 — is manufactured to OEM-equivalent specifications: large-diameter end bore and small-diameter end bore for the joint housing and shaft retention dimensions, boot length and bellows profile for the joint's full operating angle range, material compound for grease retention and road salt resistance, wall thickness for the required number of articulation cycles, and retaining band groove geometry are matched to the original part. Supplied as a complete boot kit including retaining bands and the correct quantity and type of CV joint grease. Available wholesale from 9.72 USD, MOQ 100 pcs, production lead time 40-50 days.
CV joint boots fail through rubber cracking and splitting from ozone, UV, and heat cycling — the accordion folds are the highest-stress zones and crack first; through physical tearing from road debris impact or contact with an adjacent suspension component; and through retaining band failure that allows the boot to slide off the joint housing, immediately expelling all grease. A torn boot that has been driven on for any significant distance allows road grit to mix with and displace the joint's grease within a few hundred kilometres of wet road driving, destroying the ball-to-race surface finish and making joint replacement unavoidable — the boot-only repair opportunity is lost once the joint has been contaminated.
- Inspect the CV joint for contamination and wear before deciding between boot-only replacement and complete joint replacement — wipe all old grease from the joint and rotate it manually through its full angular range while feeling for roughness, catching, or play between the ball and race surfaces; a joint that rotates smoothly with no roughness and whose balls show no visible pitting or spalling can be regreased and fitted with a new boot; a joint with any roughness, catching, or visible surface damage requires complete CV joint or driveshaft replacement — a new boot on a worn joint will fail within a short period as the worn surfaces generate metallic particles that abrade the joint from within.
- Clean the joint housing and driveshaft boot retention zones completely before fitting the new boot — remove all traces of old grease, grit, and corrosion from the large-diameter housing groove and the small-diameter shaft groove where the retaining bands will seat; any debris under the retaining band prevents it from achieving full circumferential contact and reduces its clamping force below the value needed to retain the boot against centrifugal force at operating speed.
- Pack the joint with exactly the correct quantity and type of grease specified for the joint design — CV joint grease is a specific formulation — typically molybdenum disulphide-loaded for outer ball-and-groove joints and lithium complex for inner tripod joints — that is not interchangeable with wheel bearing grease, chassis grease, or general-purpose grease; underfilling leaves the balls without adequate lubricant film at high angles; overfilling pressurises the boot and forces grease past the retaining bands; use the entire quantity of grease supplied in the boot kit, divided between filling the joint cavity and packing the boot interior.
- Position the large-diameter boot end over the joint housing before fitting the small-diameter end to the shaft — sliding the large end on first allows the boot to be properly oriented over the joint before the small end is located; fitting the small end first makes it impossible to position the large end correctly without distorting the boot bellows; ensure the large-diameter end seats fully in the housing groove before tightening its retaining band.
- Crimp or tighten both retaining bands to the OEM specification — crimp-type bands require a dedicated CV boot band pliers tool that closes the ear of the band to a calibrated gap dimension; undertightened bands allow the boot to slip from the housing under centrifugal force at speed; overtightened bands cut through the boot rubber at the band contact zone; screw-type bands must be tightened to the specified screw torque and the excess band length trimmed to prevent it contacting adjacent components during suspension travel.
- Install the new DRIVE SHAFT BOOT (VAG 1K0498103), refit the driveshaft to the hub and transmission, torque the hub nut to OEM specification with a new locking tab or cotter pin, lower the vehicle, and road test confirming no clicking during full-lock turns, no vibration at motorway speed, and no grease contamination of adjacent components after a 10-minute drive before returning the vehicle to service.
| Part | Reason for Combined Replacement |
|---|---|
| CV Joint or Complete Driveshaft Inner or outer — OEM ref. varies by side and axle | A boot that has been split and has allowed contamination to reach the joint requires joint replacement simultaneously with the new boot — fitting a new boot over a contaminated joint retains the abrasive grit and moisture inside the joint where it continues to wear the ball and race surfaces from within. Inspect the joint before deciding: smooth joint with clean grease allows boot-only replacement; roughness, clicking, or visible surface damage mandates joint replacement. |
| Hub Nut and Cotter Pin Single-use — OEM specification | The hub nut that retains the driveshaft in the wheel hub is a single-use component on most vehicles — it has a locking deformation or cotter pin that prevents it from loosening during operation and must be replaced every time it is removed. A reused hub nut that has had its locking feature distorted once can vibrate loose during driving, allowing the hub to separate from the driveshaft at speed. Always include a new hub nut and cotter pin in the parts order before beginning any driveshaft or boot service. |
| Brake Pads Axle pair — where grease contamination is confirmed | A CV boot that has been flinging grease onto the adjacent brake disc and caliper area may have contaminated the brake pad friction material. Grease-contaminated brake pads produce significantly reduced braking force and a glazed appearance on the pad face — replace both pads on the affected axle simultaneously with the boot service; a single contaminated pad on one side produces a brake pull under emergency braking from the friction differential between the contaminated and uncontaminated sides. |