MERCEDES-BENZ A2042402017 ENGINE MOUNT
Product Specifications
| MERCEDES-BENZ | A2042402017 |
| MERCEDES-BENZ | 2042402017 |
| MERCEDES-BENZ | A204240201764 |
| MERCEDES-BENZ | ENGINEMOUNTLHRHCW204 |
| MERCEDES-BENZ | BZS3500760 |
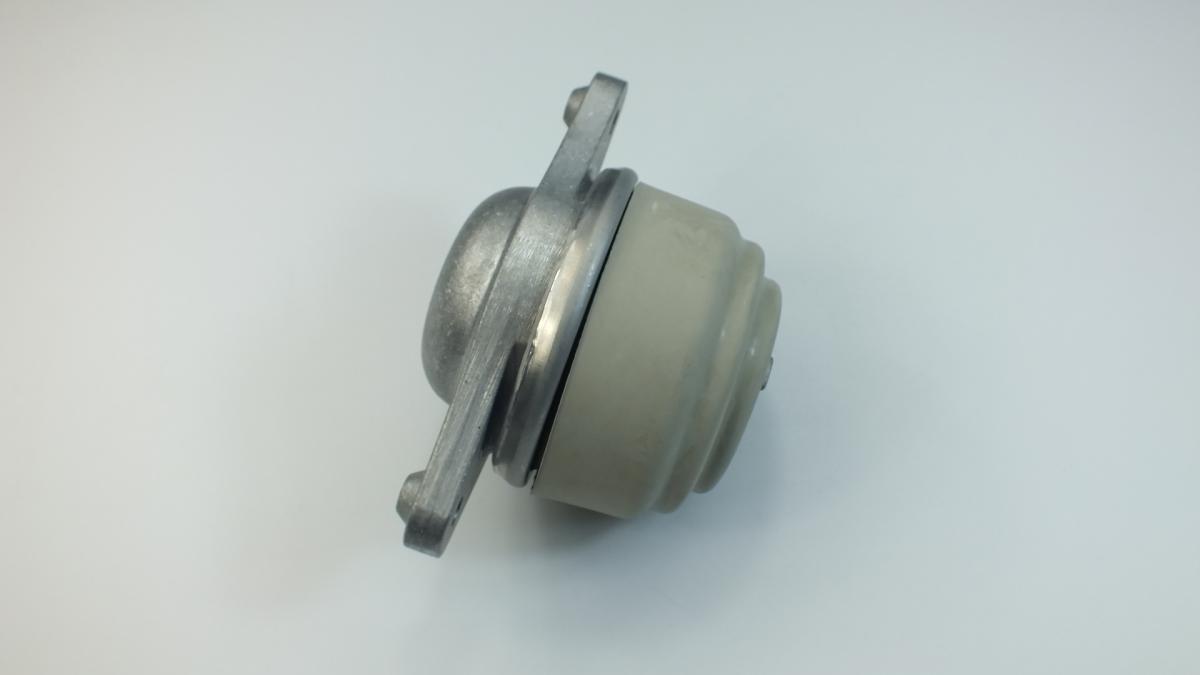
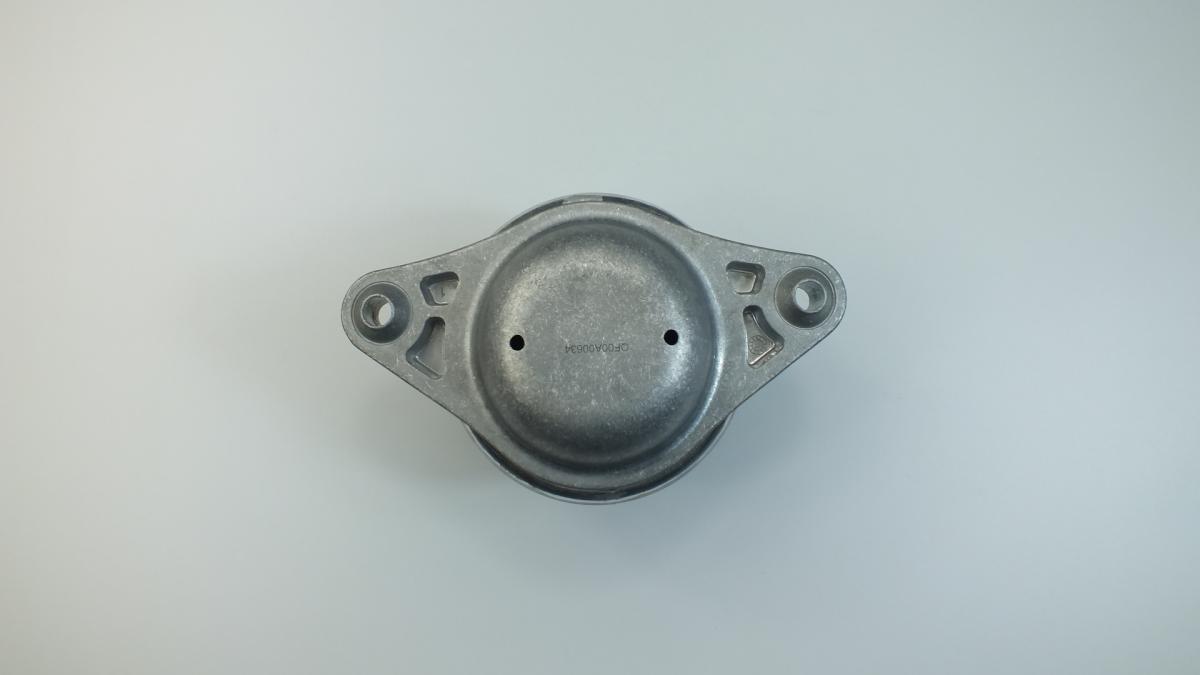
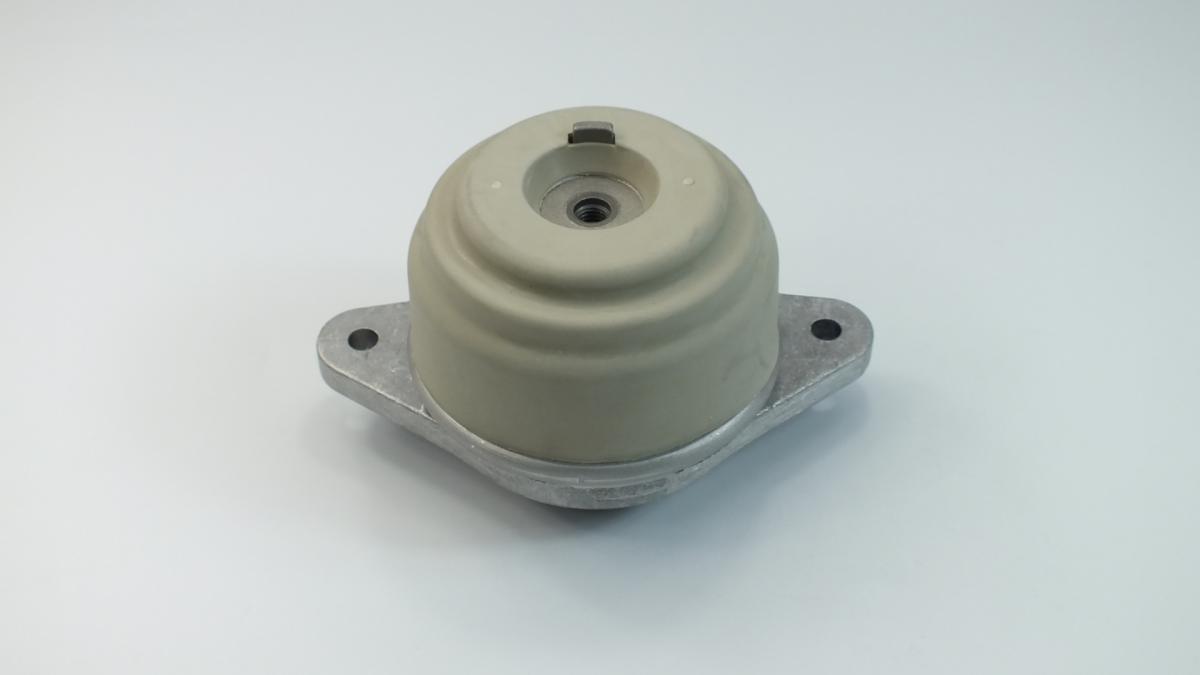
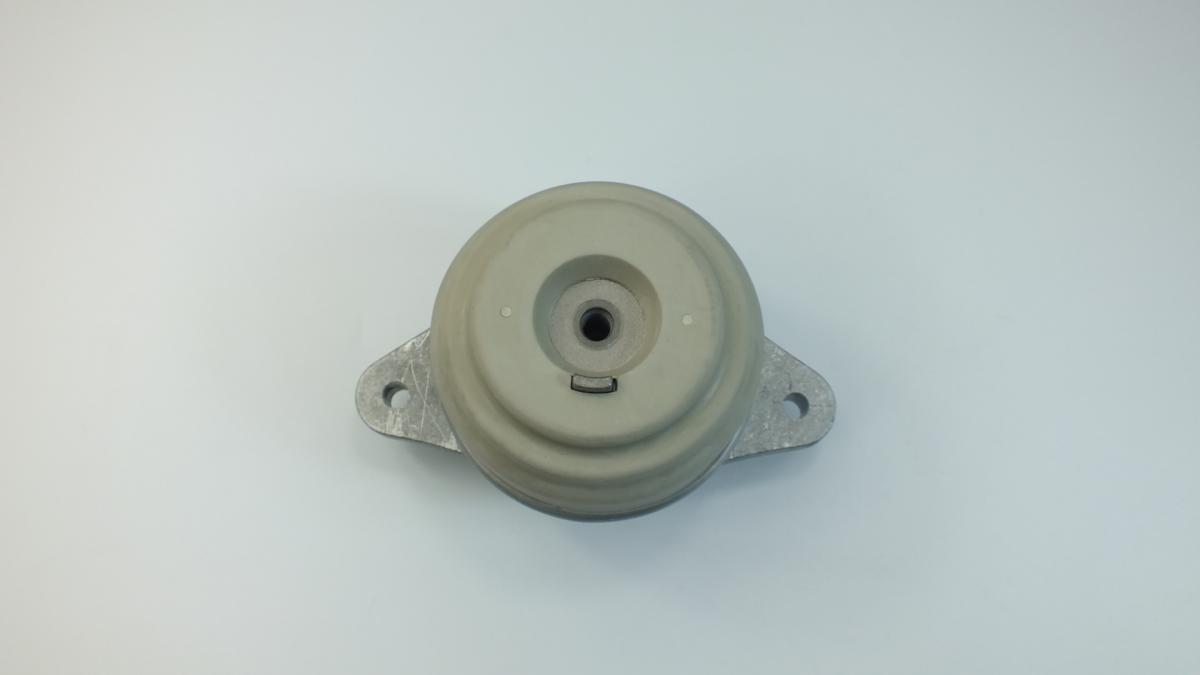
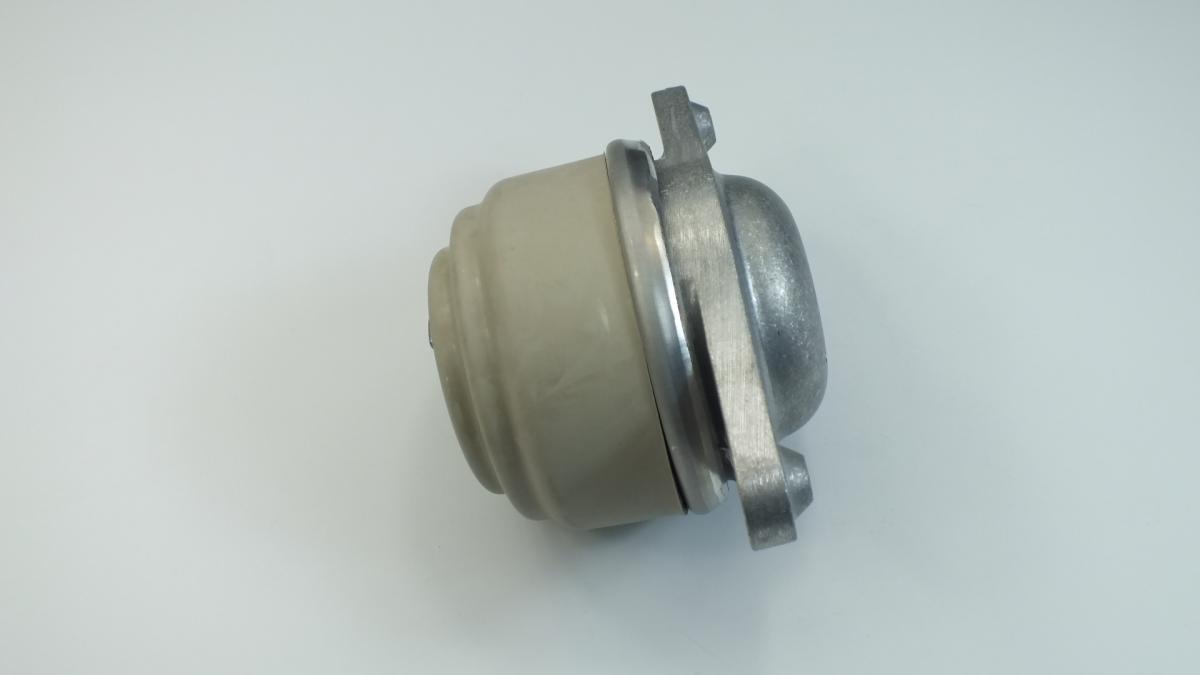
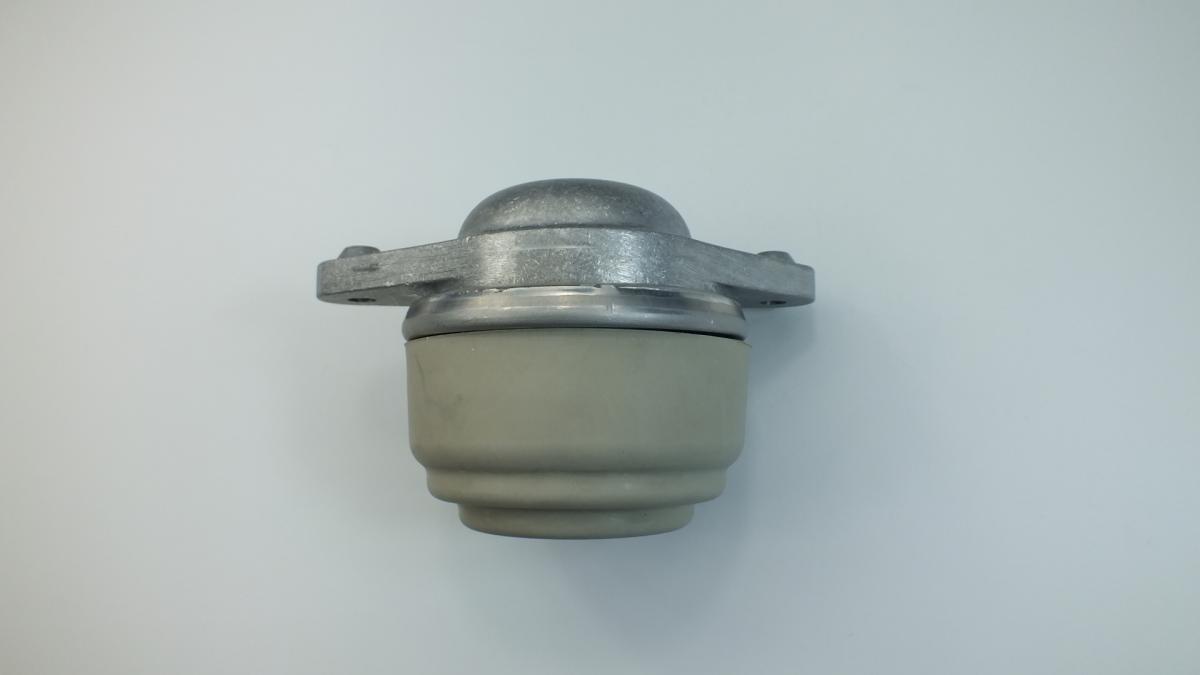
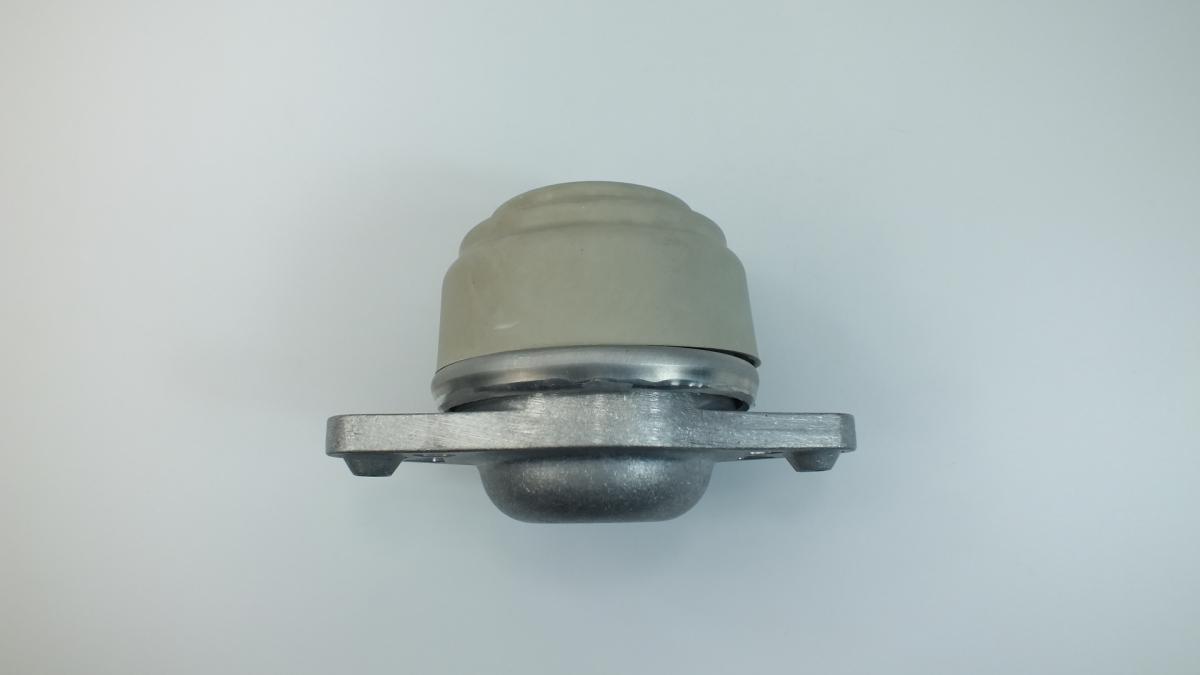
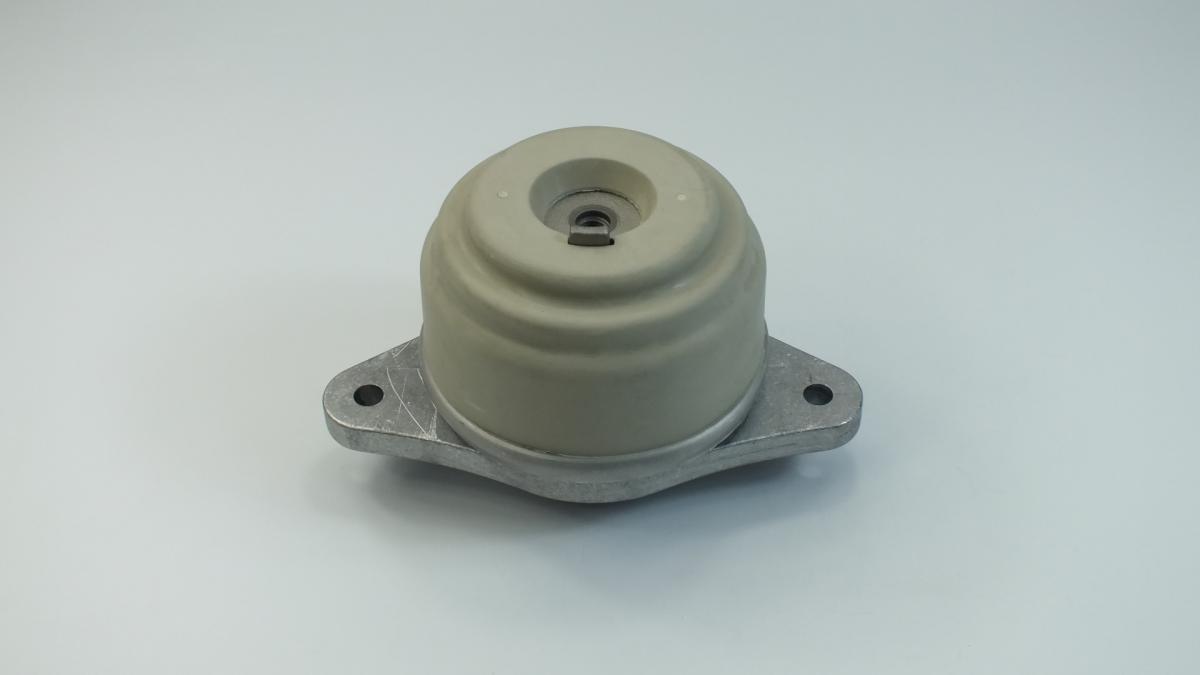
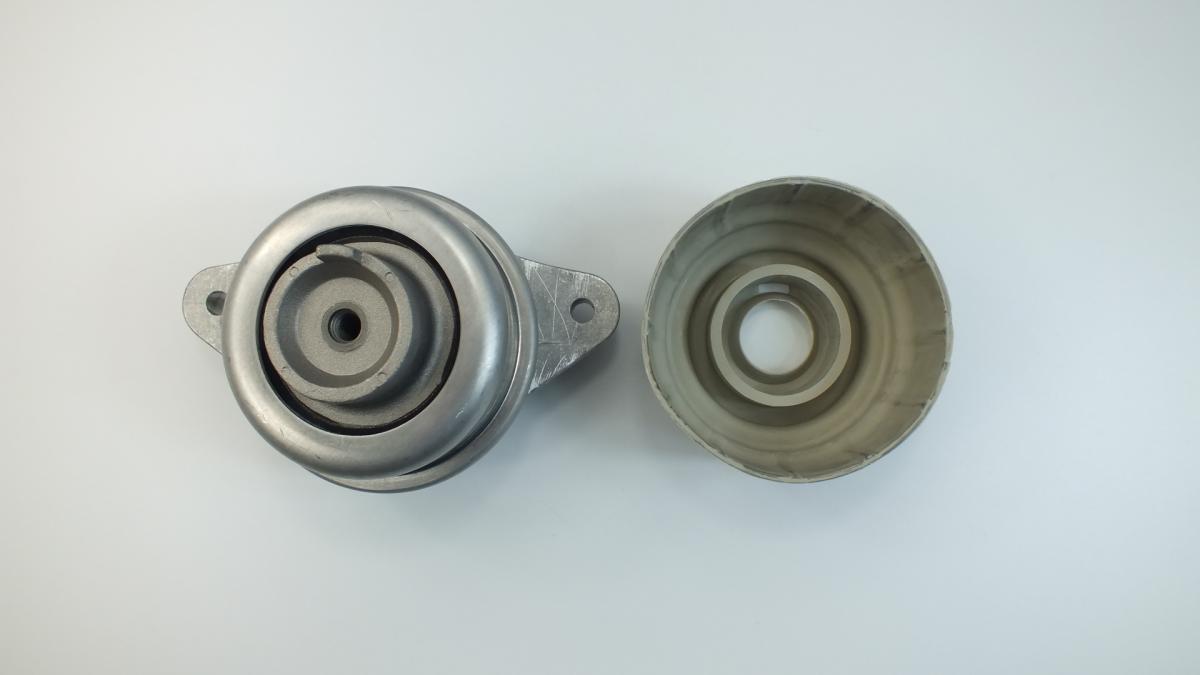
The ENGINE MOUNT is a vibration-isolating structural component that secures the engine and transmission assembly to the vehicle subframe or body while absorbing powertrain torque reaction and preventing engine vibration from transmitting into the cabin. A typical mount consists of a steel inner sleeve bonded to an outer steel bracket via a vulcanised rubber element — the rubber provides compliance in multiple axes. Hydraulic mounts found on higher-specification vehicles add a fluid-filled damping chamber that provides additional attenuation at specific resonant frequencies, particularly at idle.
This unit — MERCEDES-BENZ A2042402017 — is manufactured to OEM-equivalent specifications: rubber durometer, bonding strength, bracket geometry, bolt pattern, and load rating are matched to the original part. Supplied as a direct bolt-in replacement requiring no modification to the subframe or engine bracket for standard fitment. Available wholesale from 14.13 USD, MOQ 20 pcs, production lead time 25 days.
Engine mounts degrade through rubber oxidation, oil contamination, and accumulated fatigue from torque loading. A collapsed or cracked mount allows excessive powertrain movement that loads adjacent mounts disproportionately, accelerating their failure. When one mount is found to be failed on a high-mileage vehicle, inspect all remaining mounts before returning the vehicle to service.
- Support the engine before removing any mount. Use a hydraulic floor jack with a wooden block under the oil sump, or an engine support bar across the engine bay — never allow the engine to hang unsupported on the remaining mounts while one is removed.
- Identify the specific mount to be replaced by inspecting all mounts for cracking, collapse, or oil saturation. Photograph the original mount orientation and cable routing in the area before disassembly — reinstallation is easier with reference images.
- Remove the mount-to-subframe bolts first, then the mount-to-engine bracket bolts. Raise the engine slightly with the jack to relieve load on the mount before attempting to extract it from the bay — some mounts require significant lift to clear the subframe.
- Compare the new mount to the old unit before installation — verify bracket geometry, bolt hole pattern, and overall dimensions. On hydraulic mounts, confirm the fluid chamber is intact and the unit is orientated correctly as marked.
- Start all bolts by hand before torquing any of them to ensure correct thread engagement. Torque mount bolts with the engine at its natural resting position, not while the jack is loaded — torquing under artificial load pre-stresses the rubber element and reduces service life.
- Install the new ENGINE MOUNT (MERCEDES-BENZ A2042402017), torque all fasteners to OEM specification (typically 60–100 Nm depending on position), remove the engine support, and road-test the vehicle — confirm the clunk and vibration are eliminated before closing the job.