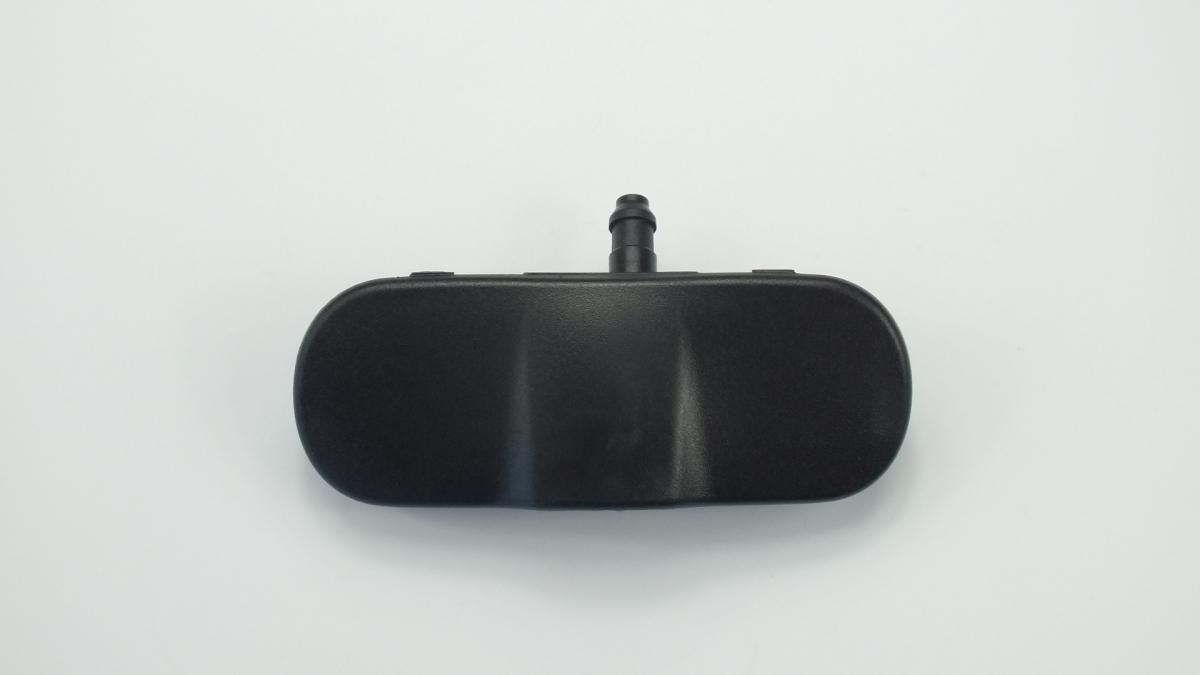
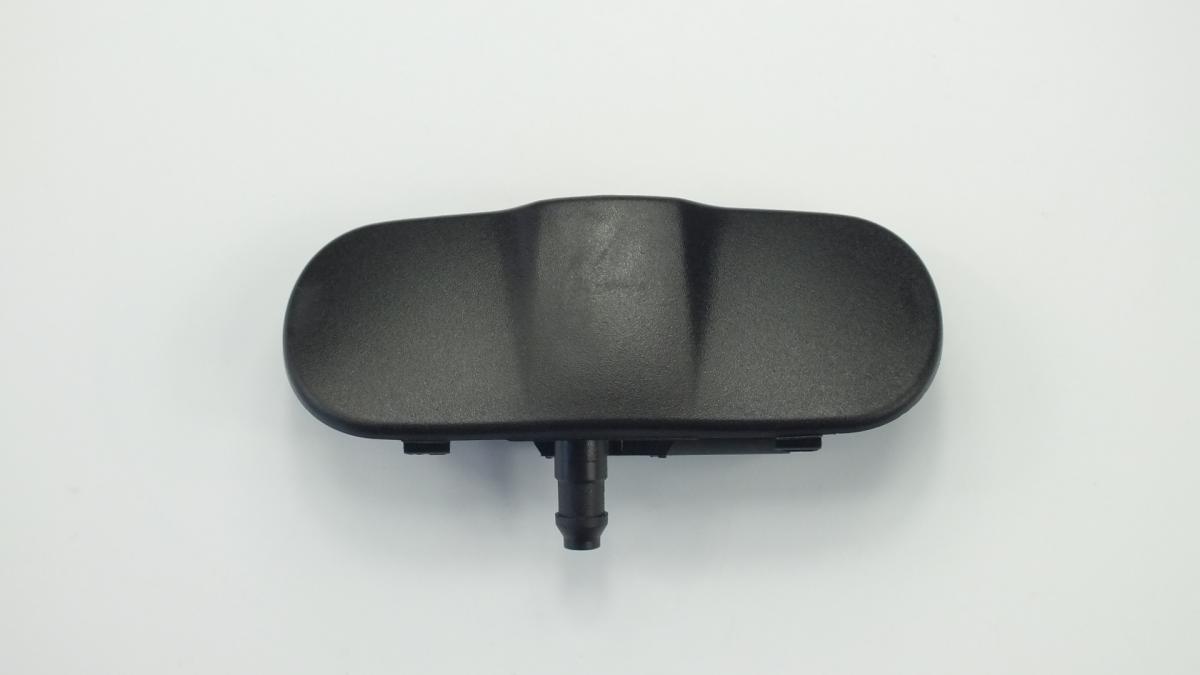
VAG 8J0955988G NOZZLE WASHER

Product Specifications
| VAG | 8J0955988G |
| VAG | 4L0955988A |
| VAG | 4L0955988B |
| VAG | 4L0955988C |
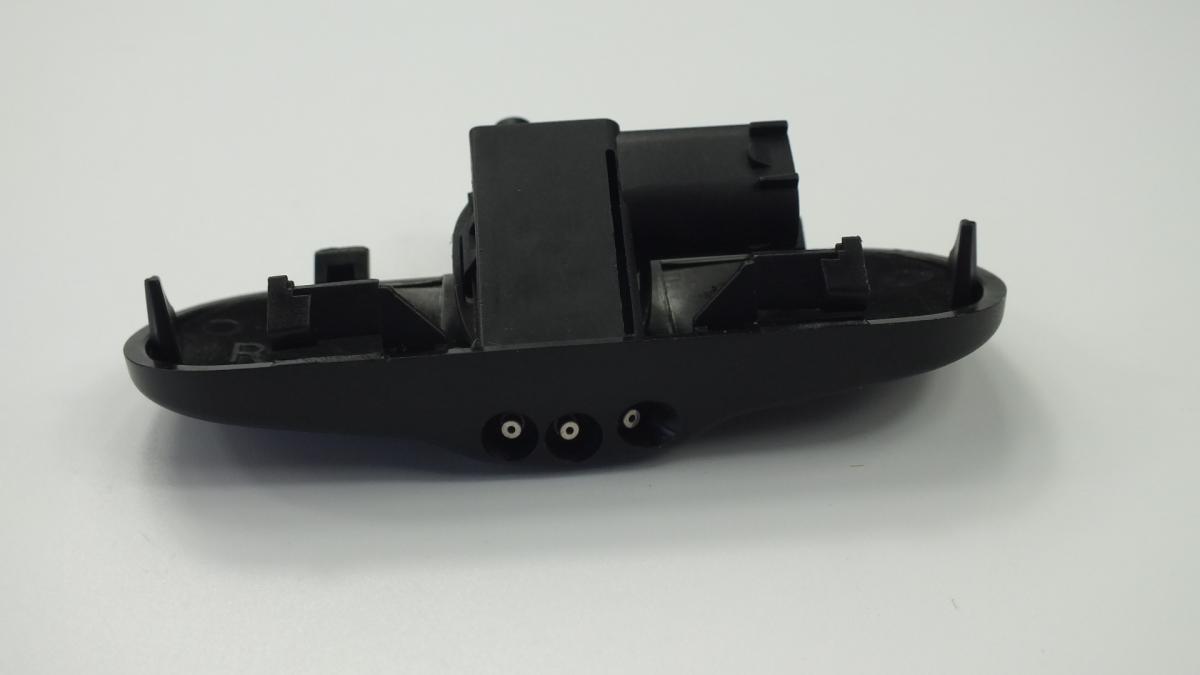
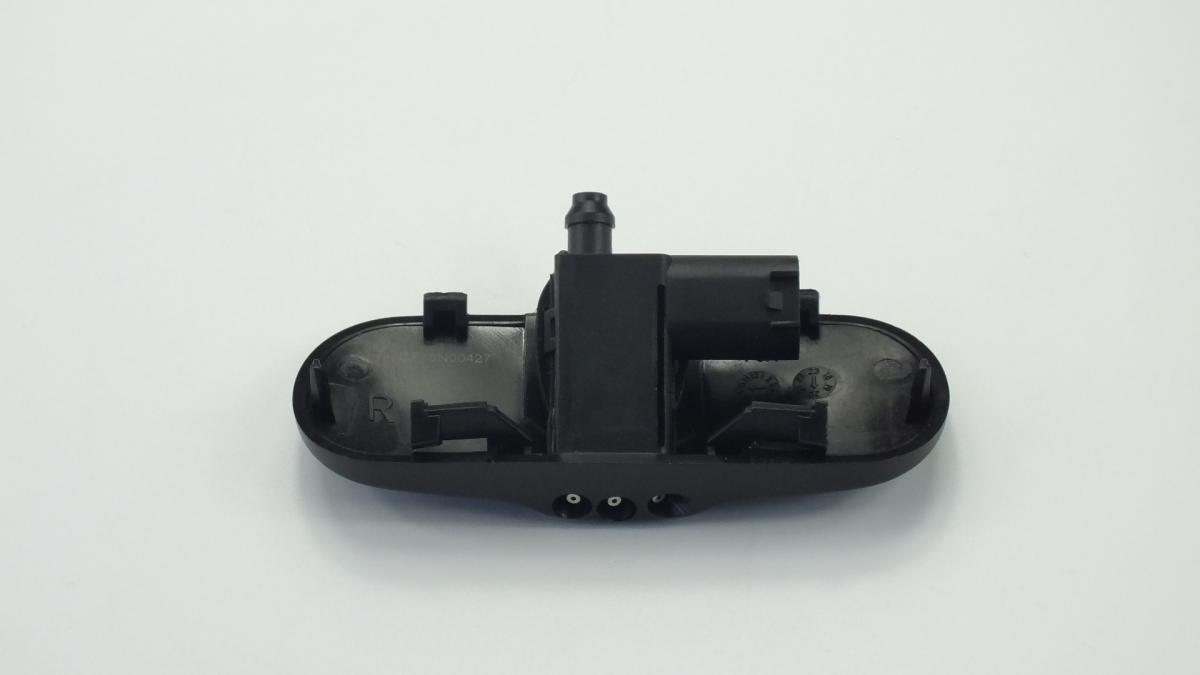
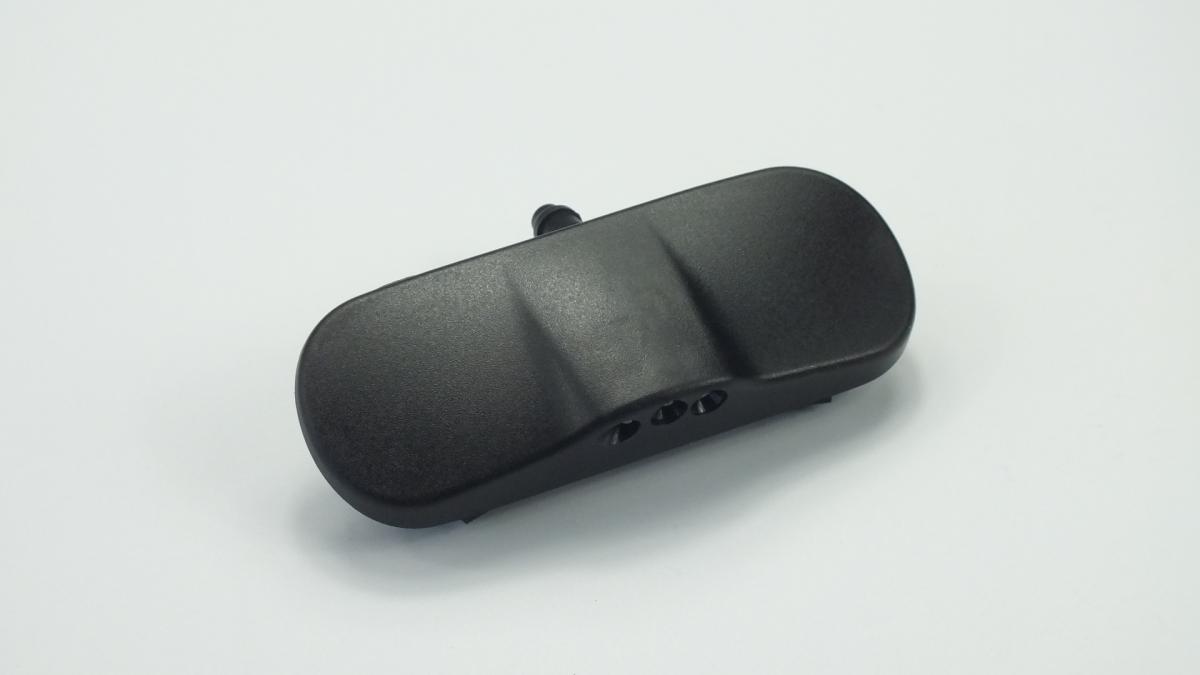
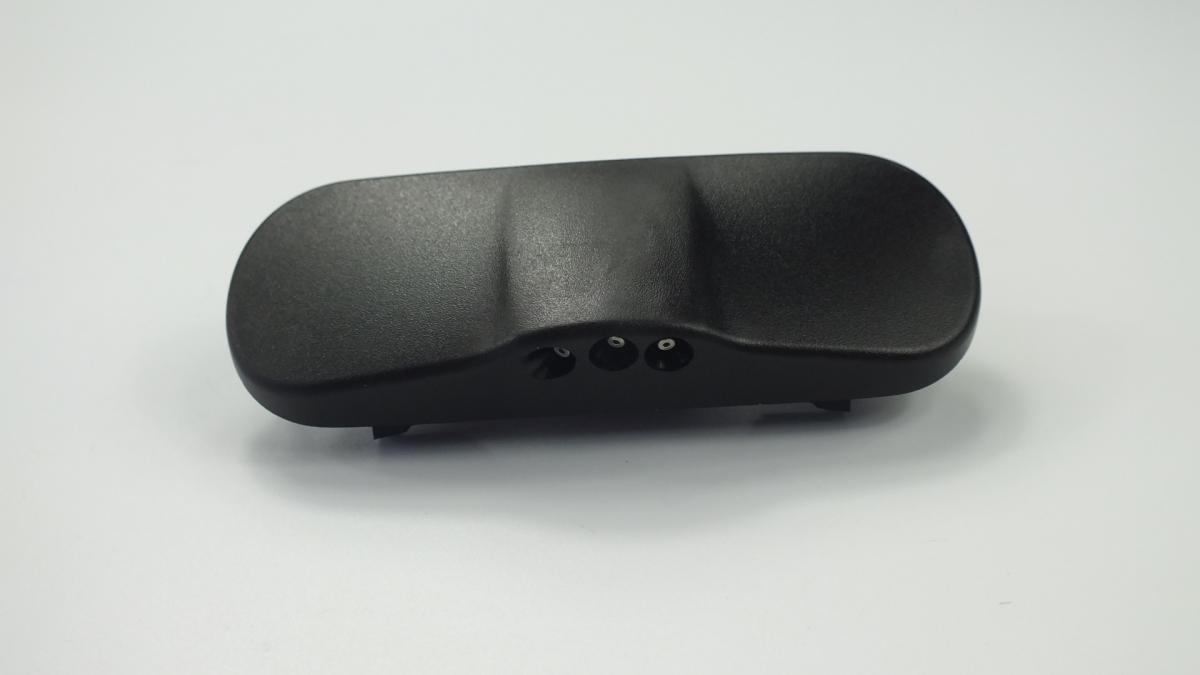
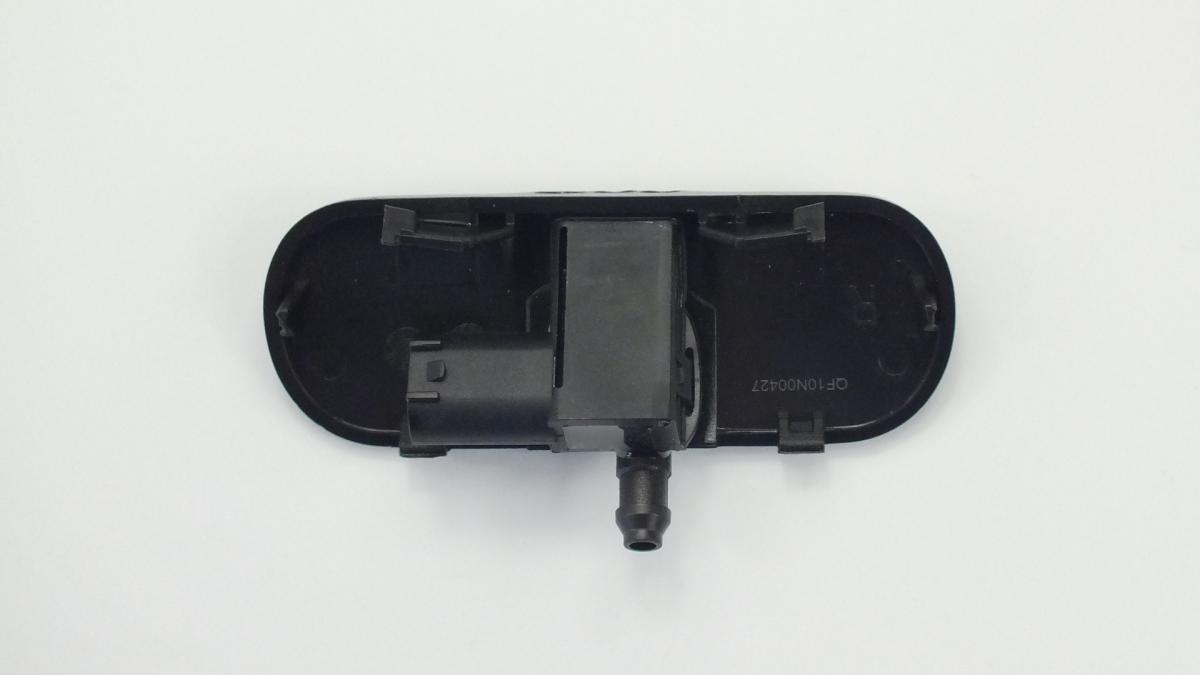
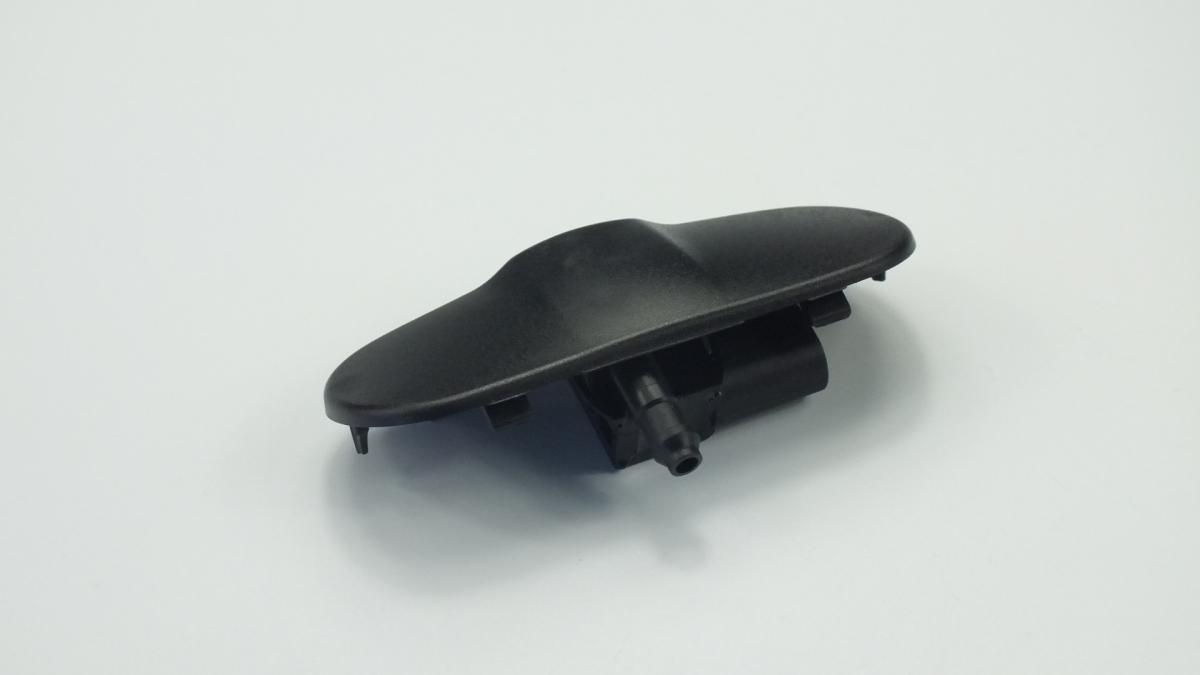
The NOZZLE WASHER is the windscreen washer nozzle — a precision-formed plastic or brass jet body mounted in the bonnet panel, scuttle cowl, or wiper arm that receives pressurised washer fluid from the electric washer pump and directs it as a calibrated spray pattern onto the windscreen surface to pre-wet the glass ahead of the wiper blade sweep. The nozzle body contains a precisely sized orifice — typically 0.3–0.8 mm diameter — that converts the pump's volume flow into a pressurised jet; a ball-and-socket or adjustable jet element whose angular position is set during vehicle assembly to direct the spray to the correct zone of the windscreen relative to the wiper's swept arc; and a one-way check valve in most designs that retains fluid in the nozzle body between wash cycles, allowing the spray to begin immediately when the washer is activated without the pump first having to overcome an empty nozzle. On heated nozzle designs an electrical resistance heating element is integrated into the nozzle body to prevent washer fluid from freezing in the orifice in cold weather — a non-heated nozzle that freezes in winter produces zero fluid delivery to the windscreen until the nozzle is manually thawed. Modern fan-spray nozzle designs replace the traditional pin-hole jet with a flat fan orifice that distributes fluid across the full width of the wiper's swept arc in a single broad spray rather than requiring two separate pin-hole jets to cover the driver and passenger halves of the screen.
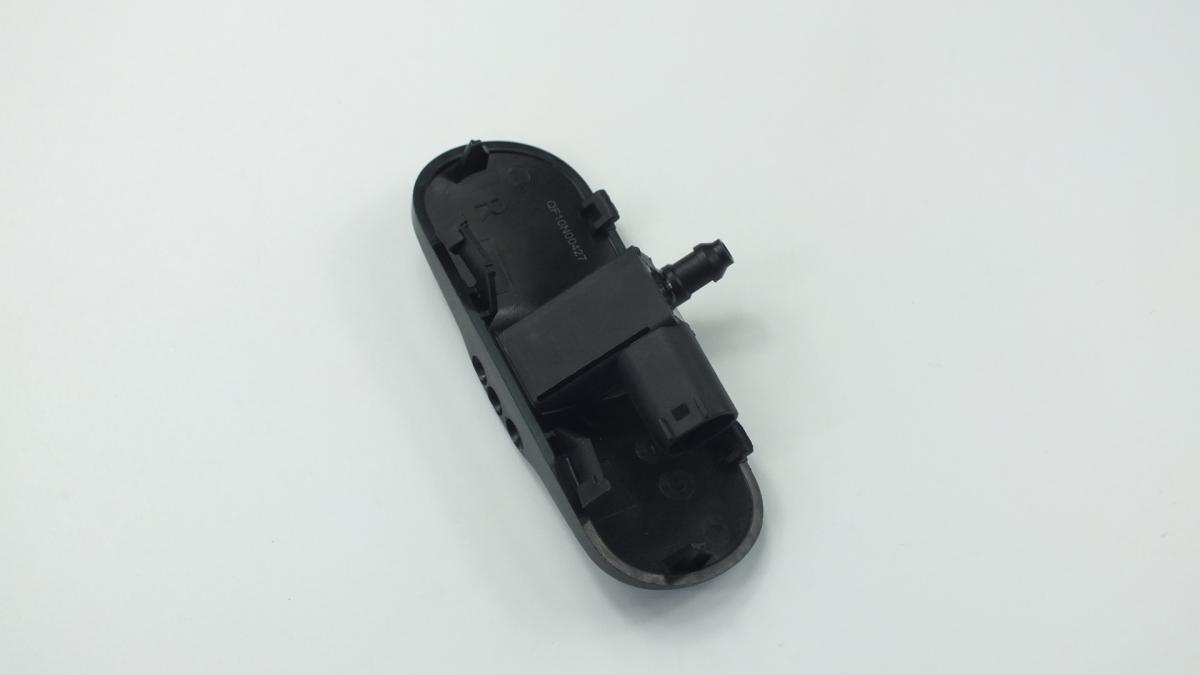
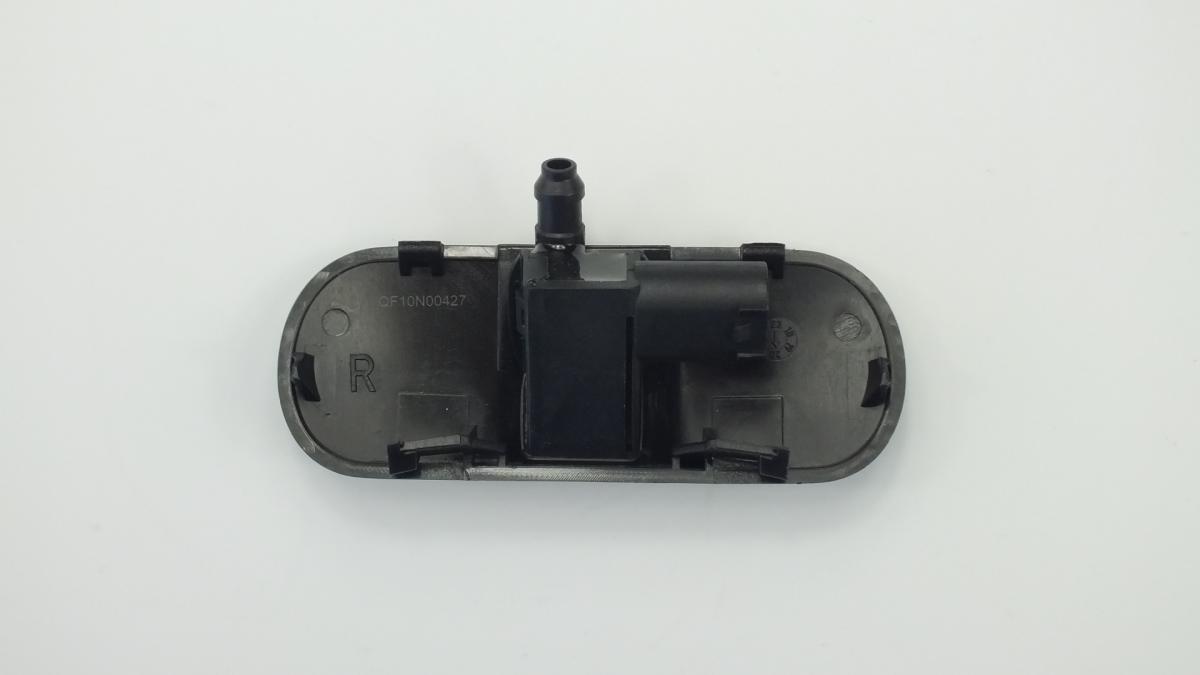
This unit — VAG 8J0955988G — is manufactured to OEM-equivalent specifications: nozzle body outer diameter and bonnet panel mounting clip geometry, jet orifice size and spray pattern angle, ball-socket or adjustable jet range, check valve retention pressure, heated element voltage and wattage where applicable, and fluid pipe connection push-fit or barb diameter are matched to the original part. Supplied as a direct replacement for standard fitment. Available wholesale from 2.65 USD, MOQ 30 pcs, production lead time 21 days.
Windscreen washer nozzles fail through orifice blockage from mineral scale deposits from hard water in the washer fluid, from washer fluid additive crystallisation when the fluid concentration changes with evaporation, and from fine debris particles that pass the washer reservoir filter; through jet angle shifting after a bonnet impact or from UV embrittlement of the ball-socket retaining material that allows the jet to drop to an incorrect angle; through check valve failure that allows the fluid line to drain back to the reservoir between wash cycles, producing a delay of several pump cycles before fluid reaches the screen; and through body cracking from thermal cycling in extreme climate environments.
- Before replacing a blocked nozzle, attempt to clear the blockage with a fine pin or compressed air — a blocked orifice from mineral scale or debris can frequently be cleared without replacing the nozzle; insert a fine pin of the correct diameter into the orifice and gently rotate to dislodge the deposit without enlarging the hole; follow by directing compressed air into the nozzle from the fluid line side to blow the dislodged deposit through the orifice; test the spray pattern before removing the nozzle from the bonnet.
- Remove the old nozzle from the bonnet panel using a trim removal tool inserted into the underside of the bonnet aperture — the nozzle body is retained by one or two spring clips that engage the underside of the bonnet panel; inserting a flat trim tool between the nozzle body and the bonnet surface and pressing the retaining clips inward while pushing the nozzle up through the aperture releases the nozzle without damaging the bonnet paintwork; never pull the nozzle upward from the bonnet surface without releasing the retaining clips as this scratches the paint around the aperture.
- Disconnect the fluid pipe from the old nozzle before pushing the new nozzle into the aperture — the pipe push-fit or barb connection is easier to access with the nozzle partially or fully removed from the bonnet; confirm the pipe's push-fit connector engages the new nozzle's barb with an audible click; a pipe that is not fully engaged will pull off the nozzle under pump pressure on the first activation, draining washer fluid into the bonnet cavity.
- Set the new nozzle's spray angle before closing the bonnet — with the nozzle installed and the fluid pipe connected, activate the washer pump and observe where the jet strikes the windscreen; the correct target zone for each nozzle is the centre of the wiper swept arc on the respective side of the screen; adjust the ball-socket angle using a fine pin inserted into the jet orifice to reposition the ball in its socket until the spray hits the correct zone; make small incremental adjustments and retest after each adjustment.
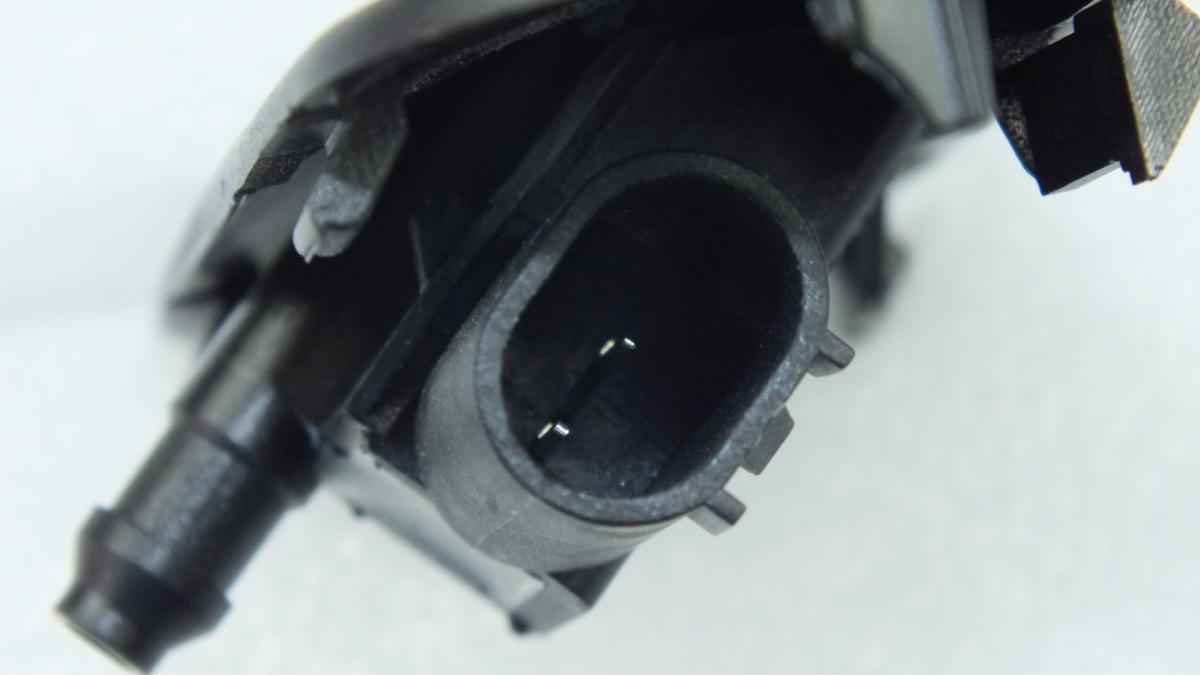
- On heated nozzle designs, confirm the electrical connector is fully engaged and the heating circuit is functional — connect the electrical connector before testing the spray angle to confirm the heating element illuminates the indicator on the heated rear screen switch where applicable; a heated nozzle with a disconnected or faulty heating element will freeze in cold weather regardless of washer fluid concentration.
- Install the new NOZZLE WASHER (VAG 8J0955988G), activate the washer three times in succession and confirm fluid delivery begins within 1 second on the first activation (check valve functional), the spray pattern covers the correct zone of the wiper's swept arc, and no fluid drips from the nozzle for more than 2 seconds after the pump stops before returning the vehicle to service.
| Part | Reason for Combined Replacement |
|---|---|
| Washer Pump OEM ref. varies — front, rear, or headlamp washer | A washer pump that is producing abnormally low pressure — delivering fluid to the nozzles as a weak dribble rather than a pressurised jet — will not provide adequate washing performance even with new clean nozzles. If replacing blocked nozzles does not restore the correct pressurised spray pattern, measure pump output pressure at the nozzle pipe connection; a pump delivering below 0.8 bar at the rated voltage requires replacement simultaneously with the nozzles to restore the complete washer system to correct specification. |
| Washer Fluid Reservoir OEM ref. varies by vehicle | A cracked washer reservoir that has been losing fluid slowly may have allowed the fluid level to drop below the pump inlet, causing the pump to run dry and accelerating impeller wear. If the reservoir shows hairline cracks or the fluid level drops faster than the nozzle output can account for, replace the reservoir simultaneously with the nozzles — a cracked reservoir will continue to leak regardless of nozzle condition. |
| Wiper Blades Driver and passenger — OEM length per vehicle | Nozzle replacement provides the standard opportunity to inspect and replace the wiper blades simultaneously — a nozzle that has been blocked for an extended period has caused the wiper blades to sweep dry glass, accelerating rubber edge wear through friction and heat. Fitting new blades alongside new nozzles ensures the complete washer-and-wiper system operates as a matched new assembly from the first use. |