VAG 1K0501387C CAM ASSY CAMBER
Product Specifications
| VAG | 1K0501387C |
| VAG | WHT000227 |
| LYNXAUTO | FS1057 |
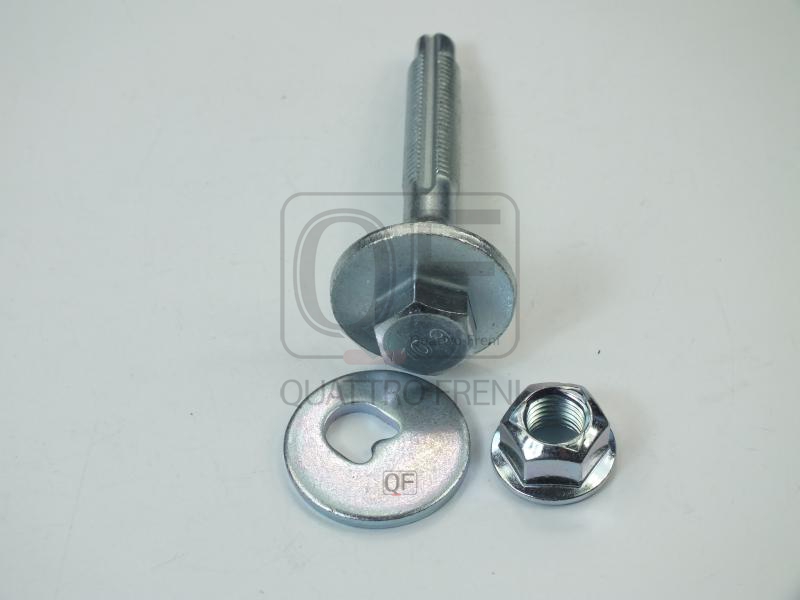
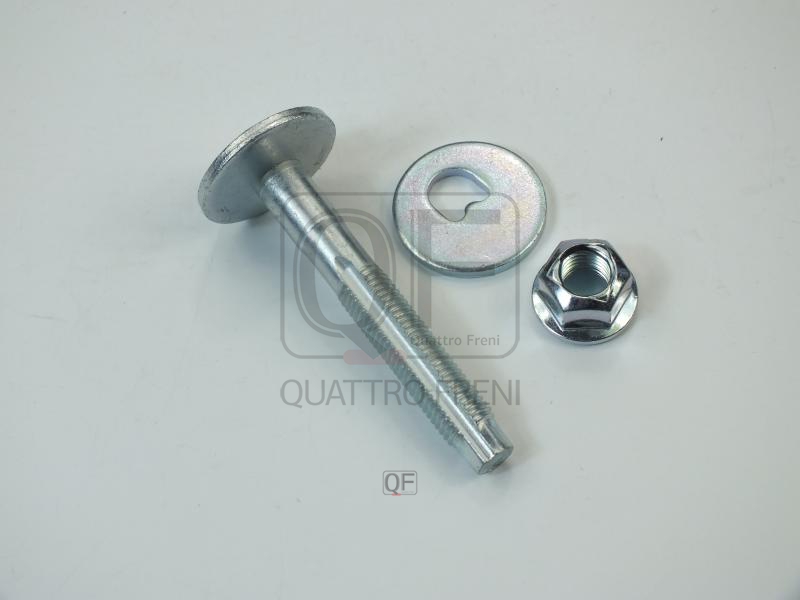
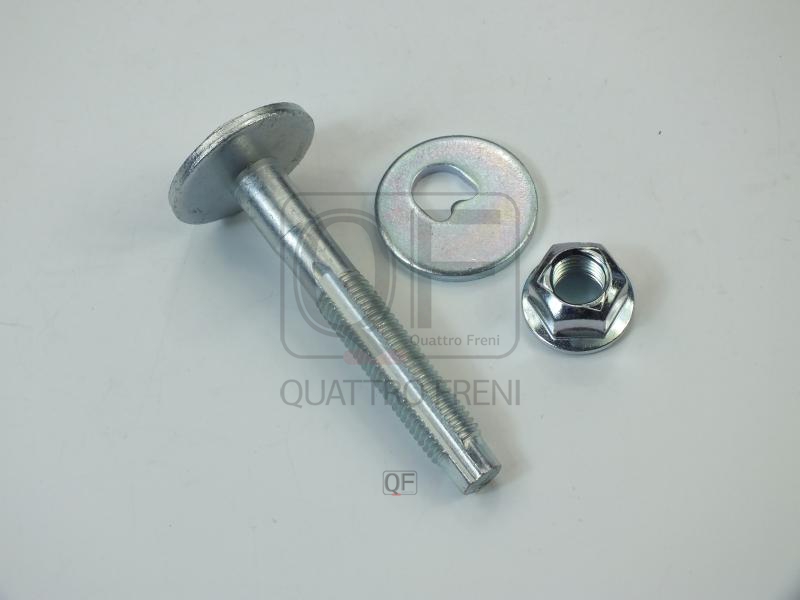
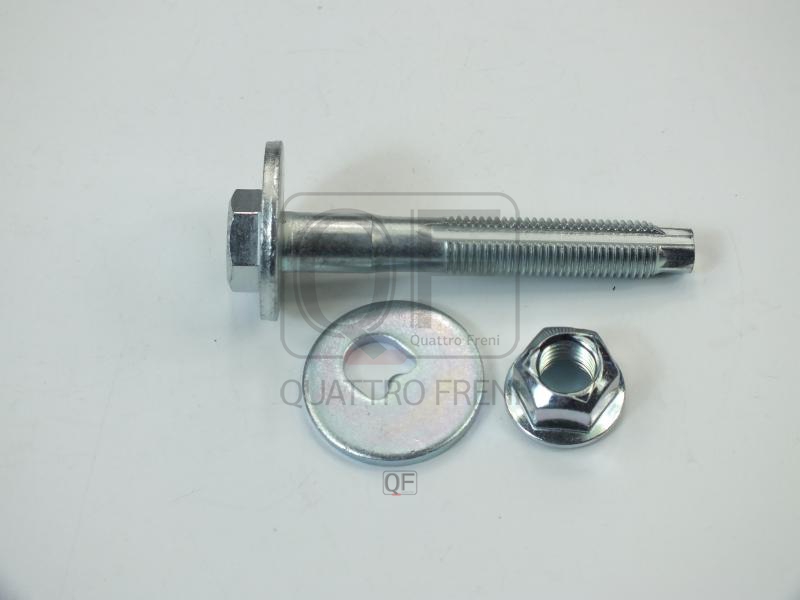
The CAM ASSY CAMBER is an eccentric adjustment bolt — also called a cam bolt or camber bolt — used in MacPherson strut lower clamp joints, control arm pivot mounts, and subframe attachment points to provide a continuously variable angular adjustment of wheel alignment angles — primarily camber and caster — within a defined range, allowing the wheel geometry to be corrected to the OEM specification after suspension component replacement, chassis deformation from minor collision damage, or alignment drift from high-mileage bush wear. The eccentric mechanism consists of a bolt whose shank transitions to an offset circular cam section — an eccentric lobe ground with a precisely defined offset from the bolt's centreline — that fits within a slotted or enlarged hole in the suspension bracket; as the bolt is rotated before final tightening, the cam lobe bears against the edge of the slot and shifts the bracket's position laterally or fore-aft relative to the fixed suspension component, changing the wheel's angular relationship to the body. The achievable adjustment range is determined by the cam offset magnitude — typically providing ±1.0° to ±2.5° of camber or caster correction depending on the application — and a graduated scale or index marks on the cam head allow the alignment technician to set and record the precise angular position before the bolt is torqued to its final value. On some applications an eccentric washer paired with a standard bolt provides the same adjustment function; on others a complete eccentric bolt-and-washer kit replaces the original fixed bolt to add adjustability that was not present in the original design.
This unit — VAG 1K0501387C — is manufactured to OEM-equivalent specifications: bolt shank diameter and thread pitch for the suspension bracket bore, cam lobe offset magnitude and width, overall bolt length and head geometry, graduated scale markings, cam lobe surface hardness and coating for corrosion resistance, and nut thread for clamping are matched to the original part or to the specified aftermarket adjustment kit for the application. Supplied as a complete eccentric bolt and nut assembly ready for installation. Available wholesale from 1.16 USD, MOQ 200 pcs, production lead time 80 days.
Eccentric alignment bolts fail through cam lobe corrosion seizure in the bracket slot that prevents rotation for adjustment — the cam becomes bonded to the bracket material by corrosion products and cannot be turned even with full breaker bar force, requiring the bracket or control arm to be destroyed during removal; through cam lobe wear from vibration fretting against the bracket slot walls when the bolt was not torqued to the correct specification; and through bolt shank corrosion fracture at the thread run-out zone from road salt exposure over high mileage. A seized eccentric bolt that cannot be adjusted defeats the purpose of a wheel alignment service — the technician cannot achieve the required angle and the customer drives away with out-of-specification alignment that causes abnormal tyre wear.
- Apply penetrating oil to the old eccentric bolt cam and bracket slot interface before attempting removal — allow the penetrating oil to soak for a minimum of 15 minutes, longer if severe corrosion is visible; attempting to force a seized cam without pre-treatment risks fracturing the bolt shank in the bracket slot, leaving an extraction problem that may require bracket or control arm replacement; repeat oil application and gentle heating with a heat gun if the first soak does not free the cam.
- Record the current cam position angle using the graduation marks before removing the old bolt — photograph the cam head from directly in front showing the alignment scale reading; this reference allows the new bolt to be installed at approximately the current setting before fine-tuning on the alignment rack, which reduces the alignment machine's adjustment time; if the current alignment is known to be incorrect, disregard the old position and use the alignment machine to find the correct cam angle from scratch.
- Clean the bracket slot thoroughly before inserting the new eccentric bolt — remove all corrosion, rust scale, and old grease from the slot walls using a wire brush; the cam lobe must be able to rotate smoothly against clean metal faces; apply a thin film of copper-based anti-seize compound to the cam lobe surface before insertion to prevent the bonding corrosion that seized the old bolt.
- Install the new bolt with the cam at the approximate target position before hand-tightening the nut — the cam cannot be rotated after the nut is tightened; use the alignment machine's real-time reading to guide the cam rotation to the exact target angle while the nut is still loose enough to allow cam movement; make small rotational adjustments and confirm the angle reading on the alignment screen before final tightening.
- Torque the nut to the OEM specification in a single pass while holding the bolt head stationary — a cam that rotates during final nut tightening shifts the alignment angle from the set position; hold the bolt head firmly with a second wrench while torquing the nut; on high-torque applications use an impact wrench on the nut with the bolt head restrained — the impact action minimises the tendency of the cam to rotate during final tightening; typical torque is 80–130 Nm depending on bolt diameter and application.
- Install the new CAM ASSY CAMBER (VAG 1K0501387C) on all required positions, complete the four-wheel alignment with all eccentric bolts set to their target positions and torqued to specification, confirm all alignment angles are within OEM tolerance, and road test the vehicle confirming straight-line stability and no pull before returning the vehicle to service.
| Part | Reason for Combined Replacement |
|---|---|
| Control Arm or Strut Bracket Bushing OEM ref. varies by suspension design | An eccentric bolt that is being replaced because the current alignment cannot be achieved may be revealing that worn control arm or strut bracket bushings have allowed the suspension geometry to shift beyond the eccentric bolt's correction range. Replacing the eccentric bolt without addressing worn bushings produces a correctly aligned vehicle at the service but one that will drift out of specification rapidly as the worn bushes continue to deflect under cornering loads. Inspect all bushes in the corrected joint before relying on an eccentric bolt to maintain alignment. |
| Suspension Fastener Set Bolts, nuts, and washers for the aligned joint | Suspension fasteners at alignment-critical joints — particularly the strut-to-knuckle pinch bolt and the control arm pivot bolts — accumulate corrosion and stretch from repeated torquing during alignment services. On vehicles with single-use stretch bolts at alignment positions, these must be replaced every time the joint is opened for alignment adjustment. Always confirm from the OEM parts data whether the fasteners at the eccentric bolt's joint position are single-use before beginning alignment work. |
| Tyres Axle pair — application-specific | A vehicle whose alignment was significantly out of specification for an extended period will have developed asymmetric or accelerated tyre wear at the affected axle. Fitting a new eccentric bolt and correcting the alignment does not reverse existing tyre wear — a tyre with inner or outer edge feathering from misalignment will continue to produce noise and vibration even after the geometry is corrected. Assess tyre condition and replace tyres showing advanced wear pattern simultaneously with the alignment correction to provide the customer with a complete resolution. |