FIAT/ALFA/LANCIA 51814082 DOOR ROLLER

Product Specifications
| FIAT/ALFA/LANCIA | 51814082 |
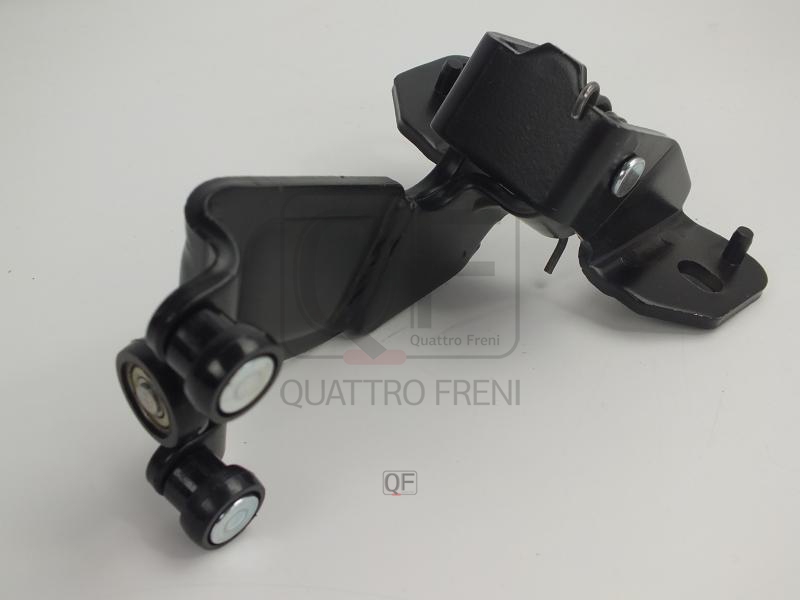
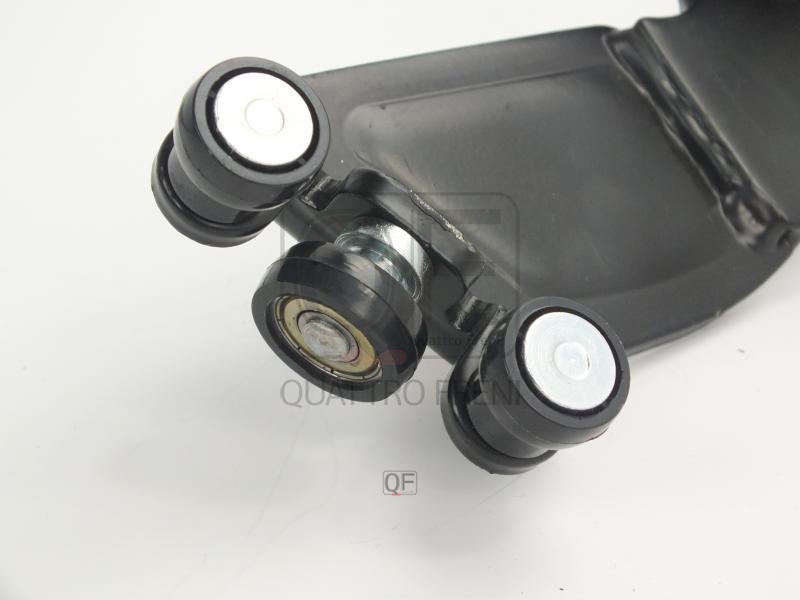
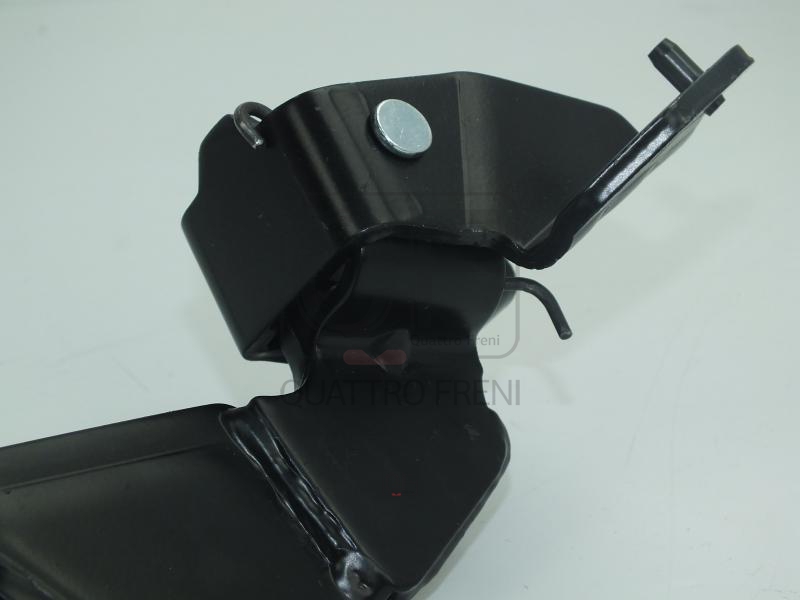
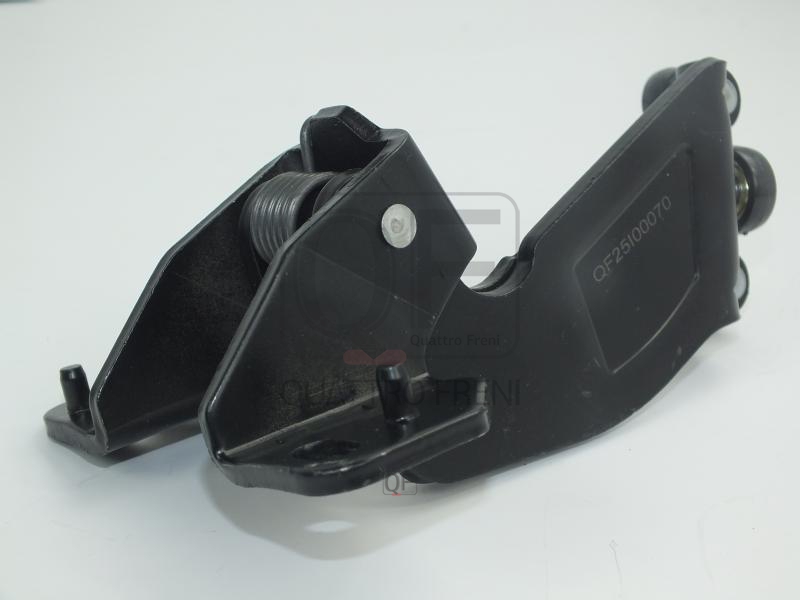
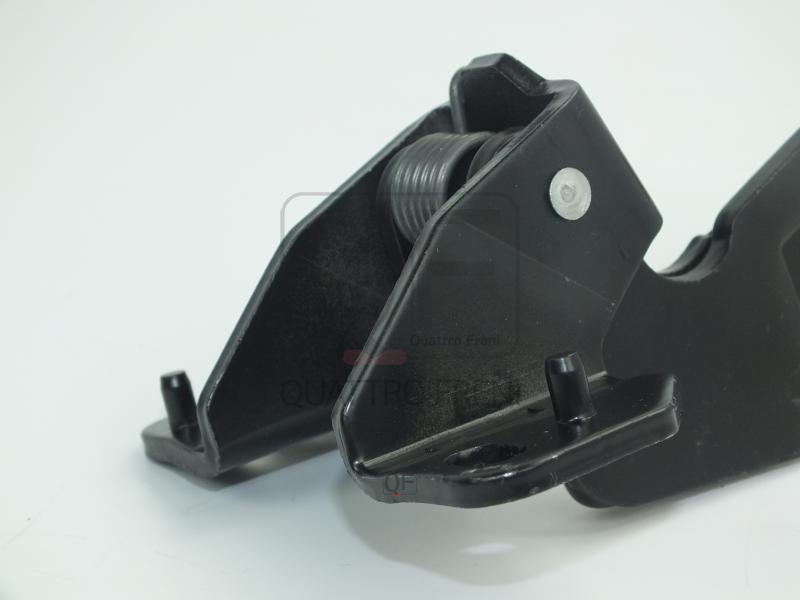
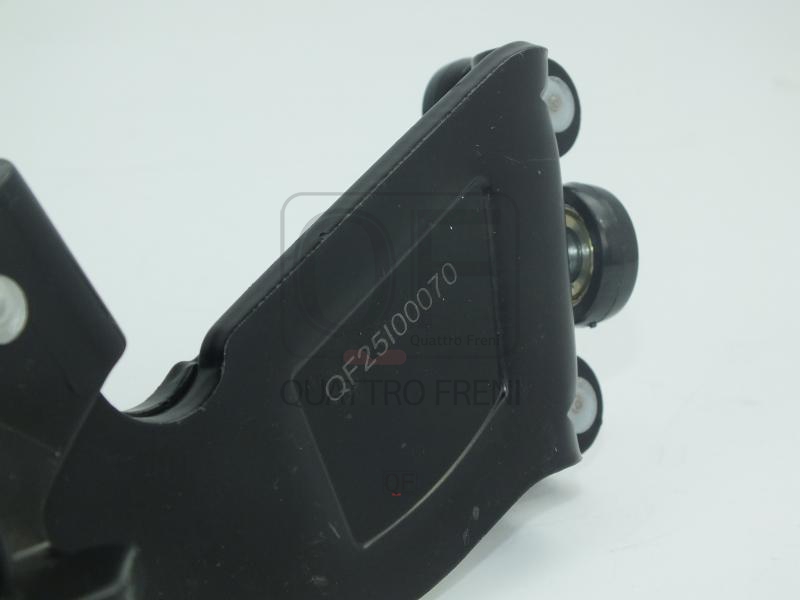
The DOOR ROLLER is a sliding door guide roller assembly — a flanged steel or nylon-wheeled roller unit that runs within the sliding door's guide rail track system, carrying the door's weight and guiding its lateral movement along the designed arc from the fully closed latched position to the fully open position on vans, MPVs, and minibuses. Modern sliding door systems use three roller assemblies per door — an upper roller that runs in the upper guide rail above the door aperture, a lower roller that runs in the lower rail at the door sill level, and a centre rear roller that runs in the main centre rail along the vehicle's side body — with each roller assembly contributing a specific load-bearing and guiding function in the door's movement: the centre rail roller carries the majority of the door's static weight and provides the primary fore-aft guidance; the upper roller controls the door's inward-outward position at the top and prevents the door from swinging out during opening; the lower roller maintains the door's position at the sill and prevents the door from dropping at its outboard edge. Each roller assembly consists of a hardened steel axle stud that bolts to the door inner structure, carrying a sealed ball bearing or plain bearing wheel — the roller proper — that runs against the guide rail's channel walls; on power sliding door systems the roller assembly may additionally carry the drive cable attachment point or the door position sensor magnet. The roller's flanges on both sides of the running surface keep the roller engaged within the rail channel without lateral displacement throughout the full door travel arc.
This unit — FIAT/ALFA/LANCIA 51814082 — is manufactured to OEM-equivalent specifications: roller outer diameter and wheel width for the rail channel geometry, axle stud thread and boss diameter for door inner panel attachment, bearing type and load rating for the door's static and dynamic weight, flange dimensions for rail engagement retention, and overall roller assembly geometry for upper, lower, or centre rail position as applicable are matched to the original part. Supplied as a complete roller assembly ready for installation. Available wholesale from 7.1 USD, MOQ 25 pcs, production lead time 27 days.
Sliding door roller assemblies fail through bearing wear from water ingress and lack of lubrication — the roller runs in an exposed rail that collects road spray, car wash water, and atmospheric moisture; a bearing that has lost its grease from water washout corrodes and seizes, causing the roller to drag rather than roll freely and producing a grinding or scraping resistance during door operation; through roller wheel fracture from an overload impact — a door that is opened rapidly and reaches its end stop with excessive force, or a door that is forced open against an obstruction, can fracture the nylon roller or damage the bearing; and through axle stud corrosion fracture at the door panel attachment point from sustained moisture exposure.
- Support the sliding door on a floor jack or roller stand before removing any roller assembly — the sliding door on a van or MPV is a heavy panel, typically 30–60 kg; removing a roller assembly without supporting the door allows the door to shift its weight distribution suddenly, potentially pulling the remaining rollers out of their rails or dropping the door onto the operator; position a jack or stand under the door's outboard edge before loosening any roller mounting bolt.
- Identify the exact roller position — upper, lower, or centre rail — before ordering the replacement — the three roller assemblies on a sliding door are not interchangeable between positions; each has specific flange geometry, axle stud length, and bracket design matched to its rail position and load direction; confirm from the vehicle's parts catalogue which position the failed roller occupies before ordering to ensure the correct unit is supplied.
- Clean the guide rail channel thoroughly with degreaser and a long-handled brush before installing the new roller — accumulated road grit, dried grease, and corrosion deposits in the rail channel will immediately contaminate the new roller's bearing and wheel surface; a contaminated rail abrades the new roller's nylon wheel or bearing races from the first operation cycle; flush the full length of each affected rail with degreaser, agitate with a brush, wipe with a lint-free cloth, and dry with compressed air before lubricating and installing the new roller.
- Apply the OEM-specified rail lubricant — typically a lithium complex grease or a silicone-based aerosol — to the cleaned rail channel before roller installation — the rail requires lubrication at the roller contact zones to minimise rolling resistance and protect the bearing from moisture; do not use petroleum-based oil that will wash out with the first rain or engine degreasing, and do not use copper or molybdenum grease that is too thick for the rail channel clearance; apply the correct lubricant to the full rail contact length with a brush or aerosol before inserting the new roller.
- Torque the roller axle stud mounting bolt to the OEM specification — typical values are 15–35 Nm depending on the stud size and door weight; undertightening allows the roller bracket to shift angularly on the door panel, misaligning the roller in the rail channel and causing the flange to bind against the rail wall; overtightening distorts the door inner panel and may fracture the bracket's mounting boss on steel or aluminium door constructions.
- Install the new DOOR ROLLER (FIAT/ALFA/LANCIA 51814082), guide the door into its rails, operate the door through its full travel range confirming smooth movement with no binding, dragging, or noise at any position, confirm the door latches cleanly at the fully closed position with correct gap and flush alignment to the body, and on power doors confirm the obstruction detection system no longer triggers during normal operation before returning the vehicle to service.
| Part | Reason for Combined Replacement |
|---|---|
| Sliding Door Guide Rail Centre, upper, or lower — OEM ref. varies | A roller that has been seized and dragging rather than rolling along the rail has been grinding a wear groove into the rail's running surface at the contact point; a rail with a wear groove cannot provide a smooth running surface for the new roller and will produce noise and irregular resistance from the first operation cycle. Inspect the rail running surface for visible wear grooves, corrosion pitting, or deformation at the position where the failed roller was seated; replace the rail simultaneously if surface damage is found — a new roller on a damaged rail reproduces the original symptom within a short mileage. |
| Sliding Door Latch and Striker OEM ref. varies by door position | A sliding door with worn or failed rollers has been operating with incorrect lateral alignment throughout its travel — the misaligned door engages its latch against the striker at a shifted angle, causing accelerated wear of the latch fork and striker pin contact surfaces and potentially bending the striker mounting bracket. With the new rollers restoring correct door geometry, inspect the latch fork for wear and the striker for deformation; a latch that was worn by misaligned door operation may now engage incorrectly with a new, correctly positioned door and require replacement to restore clean latching. |
| Door Weatherstrip Seal Full perimeter seal — OEM ref. varies | A sliding door that has been dragging from failed rollers has been imposing abnormal loads on the weatherstrip seal at the door aperture perimeter on every open and close cycle — the misaligned door compresses the seal unevenly, causing permanent deformation and tearing at the points of greatest misalignment. With the door geometry restored by new rollers, inspect the weatherstrip for torn or permanently deformed sections that would admit water or wind noise despite the correct door alignment; replace the weatherstrip if any permanent deformation is found. |