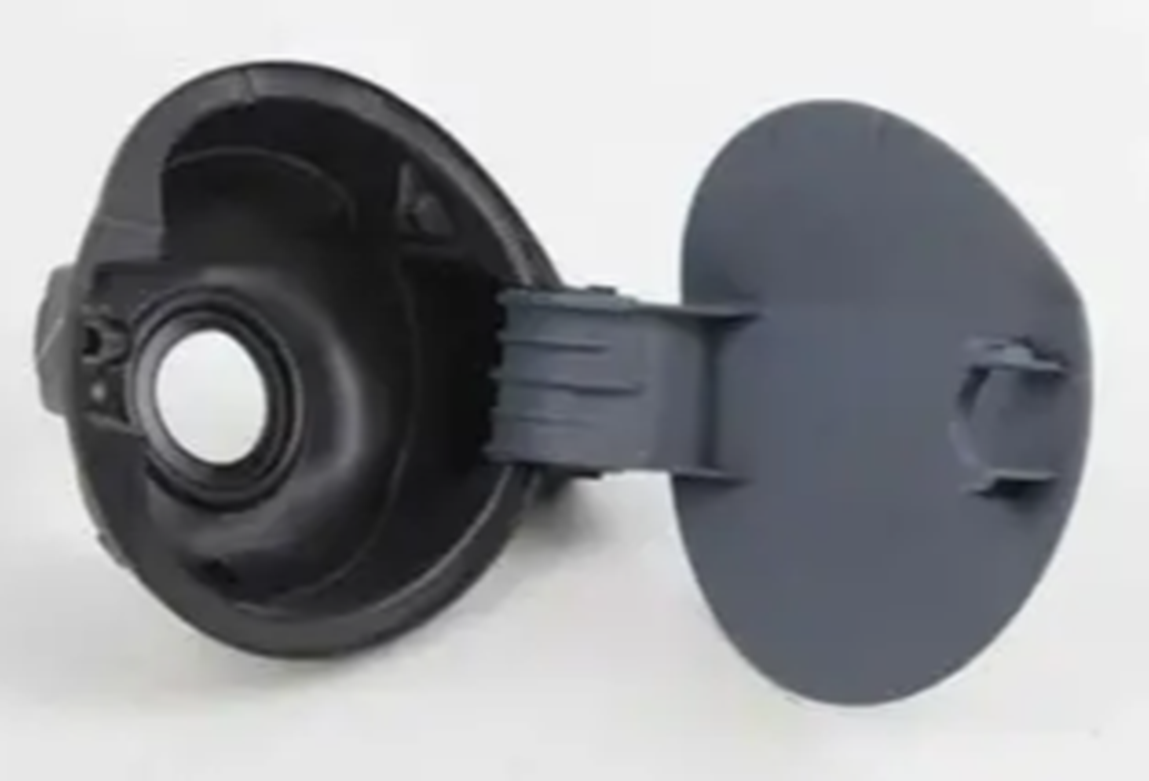
VAG 5K6809857CGRU CAP
Product Specifications
| VAG | 5K6809857CGRU |
| VAG | 5K6809857BGRU |
The CAP is a reservoir or filler cap that seals the opening of a fluid-containing vessel in the vehicle's engine bay, body, or fuel system against fluid loss, contamination ingress, and — where the enclosed system operates under pressure — pressure loss or excessive overpressure. Caps of this type appear at multiple fluid system access points throughout the vehicle, each engineered to the specific requirements of the fluid and pressure conditions at that location: the coolant expansion tank cap incorporates a calibrated pressure relief valve — typically rated at 1.0–1.4 bar — that vents excess system pressure to prevent hose and radiator damage while a vacuum valve allows coolant to return from the overflow as the system cools; the fuel filler cap seals the fuel tank opening against fuel vapour emission, maintains the slight positive pressure of the evaporative emission system, and on modern EVAP-equipped vehicles incorporates a tethered retainer and a ratcheting torque-limiting mechanism that provides an audible click to confirm correct seating; the washer fluid reservoir cap provides a simple push-fit or bayonet seal against the reservoir neck without pressure sealing requirements; and the headlamp washer nozzle cap is a decorative cover that conceals the nozzle recess in the bumper when the headlamp washer system is retracted. All cap designs share the requirement for a secure, repeatable seal to the vessel neck — achieved through a bayonet lock, a thread-and-gasket, a simple interference press fit, or a quarter-turn cam mechanism depending on the system pressure and access frequency.
This unit — VAG 5K6809857CGRU — is manufactured to OEM-equivalent specifications: neck sealing diameter and gasket or O-ring geometry, locking mechanism type and engagement torque or quarter-turn angle, pressure relief and vacuum valve opening pressures where applicable, tether and retainer geometry where applicable, material compatibility with the enclosed fluid, and exterior profile for the specific reservoir neck geometry are matched to the original part. Supplied as a direct replacement for standard fitment. Available wholesale from 8.48 USD, MOQ 50 pcs, production lead time 20 days.
Caps fail through loss of sealing integrity — the rubber gasket or O-ring hardens, cracks, or takes a permanent compression set that prevents it from conforming to the neck sealing surface; through pressure valve malfunction on coolant caps where the relief valve spring fatigues or the valve seat corrodes, causing the cap to vent at too low a pressure or not at all; through locking mechanism wear that prevents the cap from engaging fully; and through tether fracture on fuel caps that leaves the cap unsecured during fuelling. A failed coolant expansion tank cap that vents at too low a pressure allows the cooling system to operate below its designed pressure, reducing the coolant's boiling point and causing localised boiling in the cylinder head water jacket; a cap that does not vent at all allows pressure to build above the design limit, potentially rupturing a cooling hose or radiator end tank.
- For coolant expansion tank caps, always allow the engine to cool completely before removing the cap — the cooling system retains pressure at elevated temperature; removing a pressurised cap releases a jet of boiling coolant capable of causing severe burns; confirm the system is cold by pressing the expansion tank wall — a cold system is soft and flexible; a pressurised hot system feels rigid; always place a thick cloth over the cap before applying rotational force as an additional precaution.
- Clean the reservoir neck sealing surface before fitting the new cap — mineral deposits, dried coolant residue, and rubber fragments from the old cap gasket on the neck sealing face prevent the new cap's gasket from making complete contact; wipe the neck face with a damp cloth and inspect for cracks or raised edges that would prevent a complete seal; a cracked neck requires reservoir replacement as no cap can seal reliably against a cracked seating surface.
- Test pressure-type caps on a radiator cap tester before installation — a new coolant cap should be confirmed to hold its rated pressure before fitting; a cap that is incorrect for the application — wrong pressure rating for the cooling system — will either vent too early and cause coolant loss or not vent at all and allow overpressure; confirm the cap's rated pressure matches the OEM specification printed on the reservoir neck or in the vehicle service data.
- For fuel filler caps, engage the locking mechanism until the audible ratchet click is heard before closing the fuel flap — modern tethered fuel caps have a torque-limiting ratchet that clicks when the cap has reached its designed sealing torque; the click confirms the gasket is fully compressed against the filler neck and the EVAP system seal is established; a cap closed without the click confirmation has not reached its sealing torque and will produce EVAP system fault codes on the next drive cycle.
- For washer reservoir caps with a directional vent or one-way seal, confirm the correct orientation before pressing the cap onto the neck — some washer reservoir caps have a vent hole positioned to direct any overflow away from electrical components; installing the cap rotated 180 degrees from the OEM orientation directs the vent toward the fuse box or battery; confirm the vent direction from the OEM parts documentation or from the markings on the cap body.
- Install the new CAP (VAG 5K6809857CGRU), confirm the cap is fully seated by applying the correct installation force or torque for the cap type, run the engine to operating temperature where applicable and confirm no fluid loss, and on fuel caps clear any stored EVAP fault codes with an OBD-II scanner before confirming the repair is complete.
| Part | Reason for Combined Replacement |
|---|---|
| Coolant Expansion Tank OEM ref. varies by cooling system layout | A coolant cap that has been seized on the neck from corrosion, or a cap whose gasket has failed from a cracked neck sealing face, indicates that the tank neck has degraded to the point where no cap will seal reliably against it. If the tank neck shows cracking, raised corrosion ridges, or deformation at the sealing face, replace the complete tank simultaneously with the cap — fitting a new cap to a damaged neck guarantees an immediate repeat leak. |
| Coolant (Engine Antifreeze) OAT or HOAT per OEM specification | A coolant expansion tank cap that has been venting at below its rated pressure has been allowing coolant to escape progressively, concentrating the remaining coolant and potentially introducing air into the system. When a failed cap is identified as the cause of coolant loss, top up with fresh coolant of the correct specification and test coolant concentration with a refractometer; if significant coolant has been lost and the remaining concentration is outside the specification range, a complete coolant change is recommended simultaneously with the cap replacement. |
| Washer Fluid Summer or winter concentration per climate | Washer reservoir cap replacement provides the opportunity to check washer fluid level and concentration simultaneously. A missing or failed cap allows washer fluid to evaporate and the reservoir to accumulate airborne contamination; top up with fresh washer fluid of the correct seasonal concentration when fitting the new cap to ensure the new cap seals a clean, correctly filled reservoir from its first installation. |