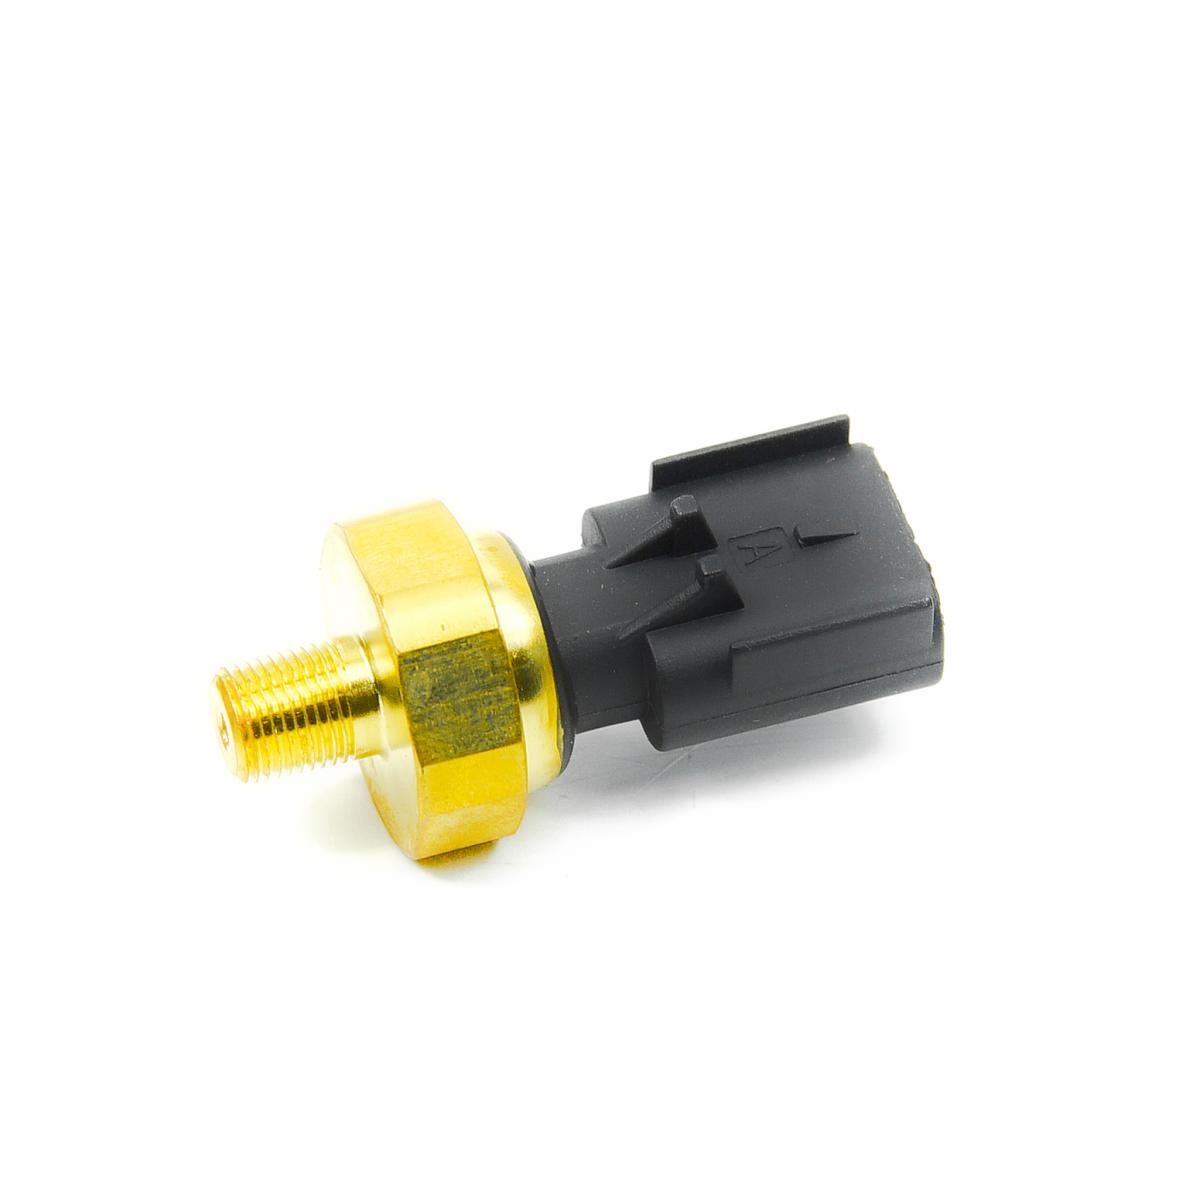
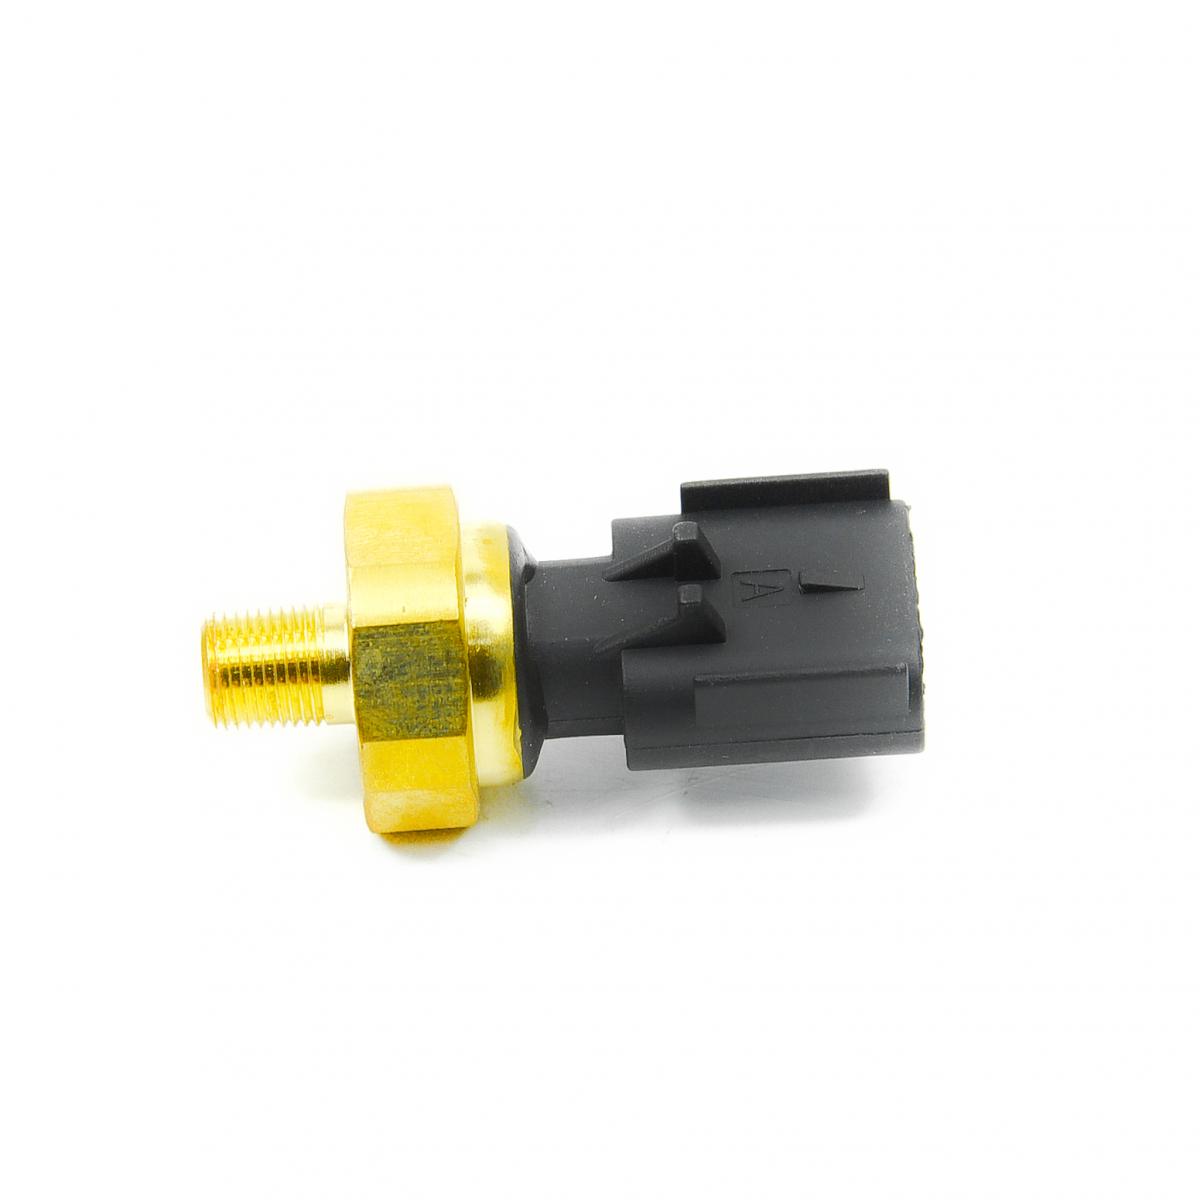
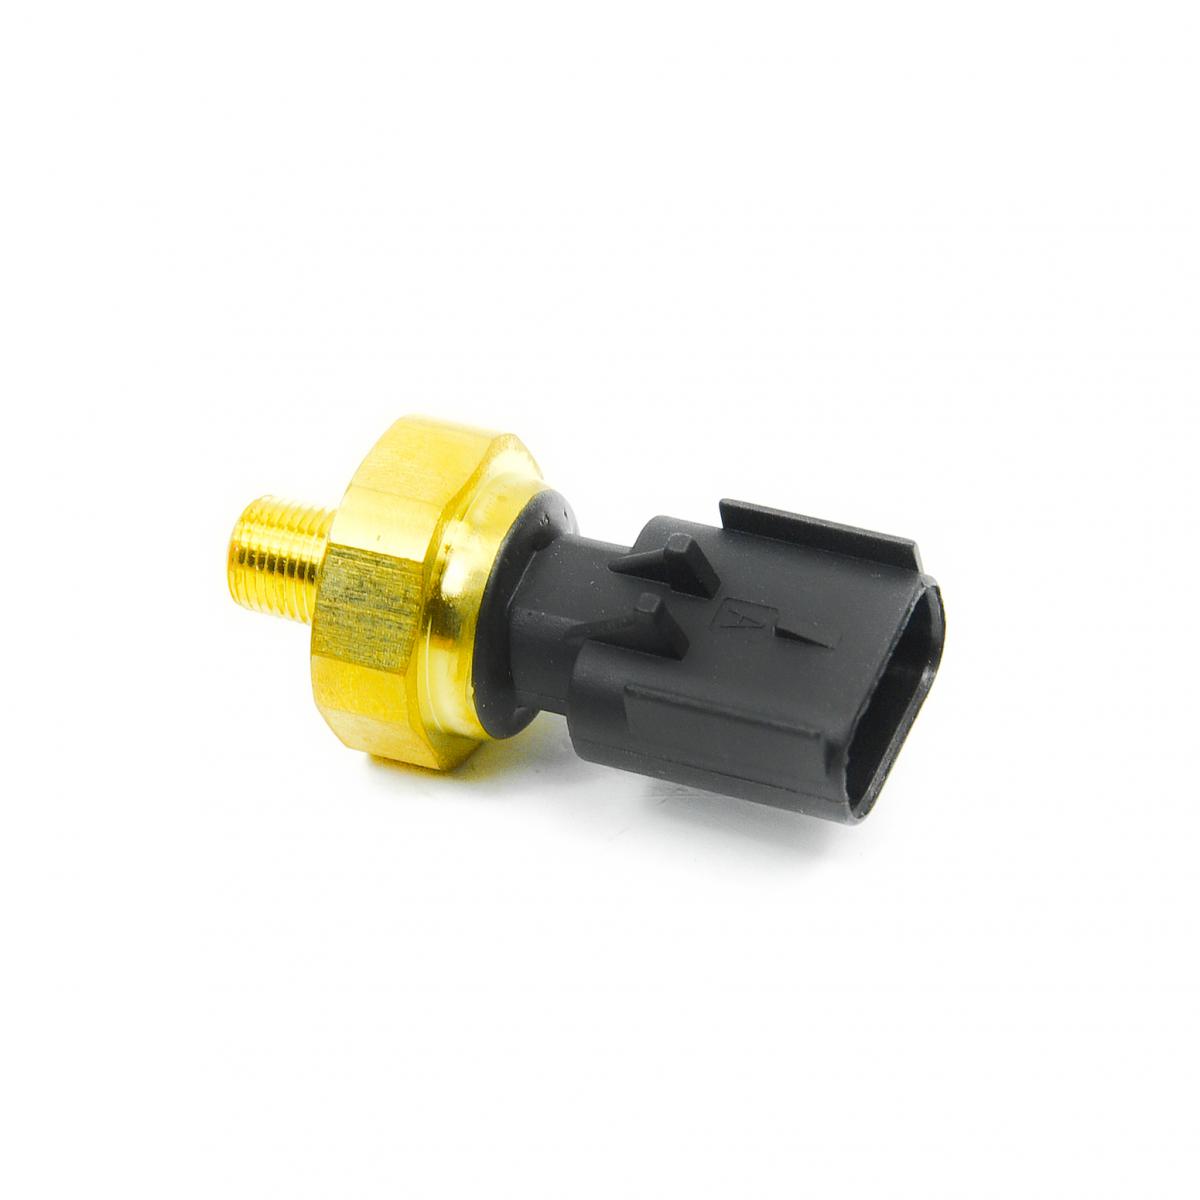
CHRYSLER 05149062AA SWITCH ASSY OIL

Product Specifications
| CHRYSLER | 05149062AA |
| CHRYSLER | 56044777AA |
| CHRYSLER | 68060337AA |
| CHRYSLER | 56028807AB |
| CHRYSLER | 05149062AB |
| CHRYSLER | 56028807AA |
| CHRYSLER | 5149062AA |
| CHRYSLER | 05149064AB |
| CHRYSLER | 68145662AB |
| CHRYSLER | 05093908AA |
| CHRYSLER | 05080472AA |
| CHRYSLER | 05149064AA |
| CHRYSLER | 5149062AB |
| CHRYSLER | 514906AA |
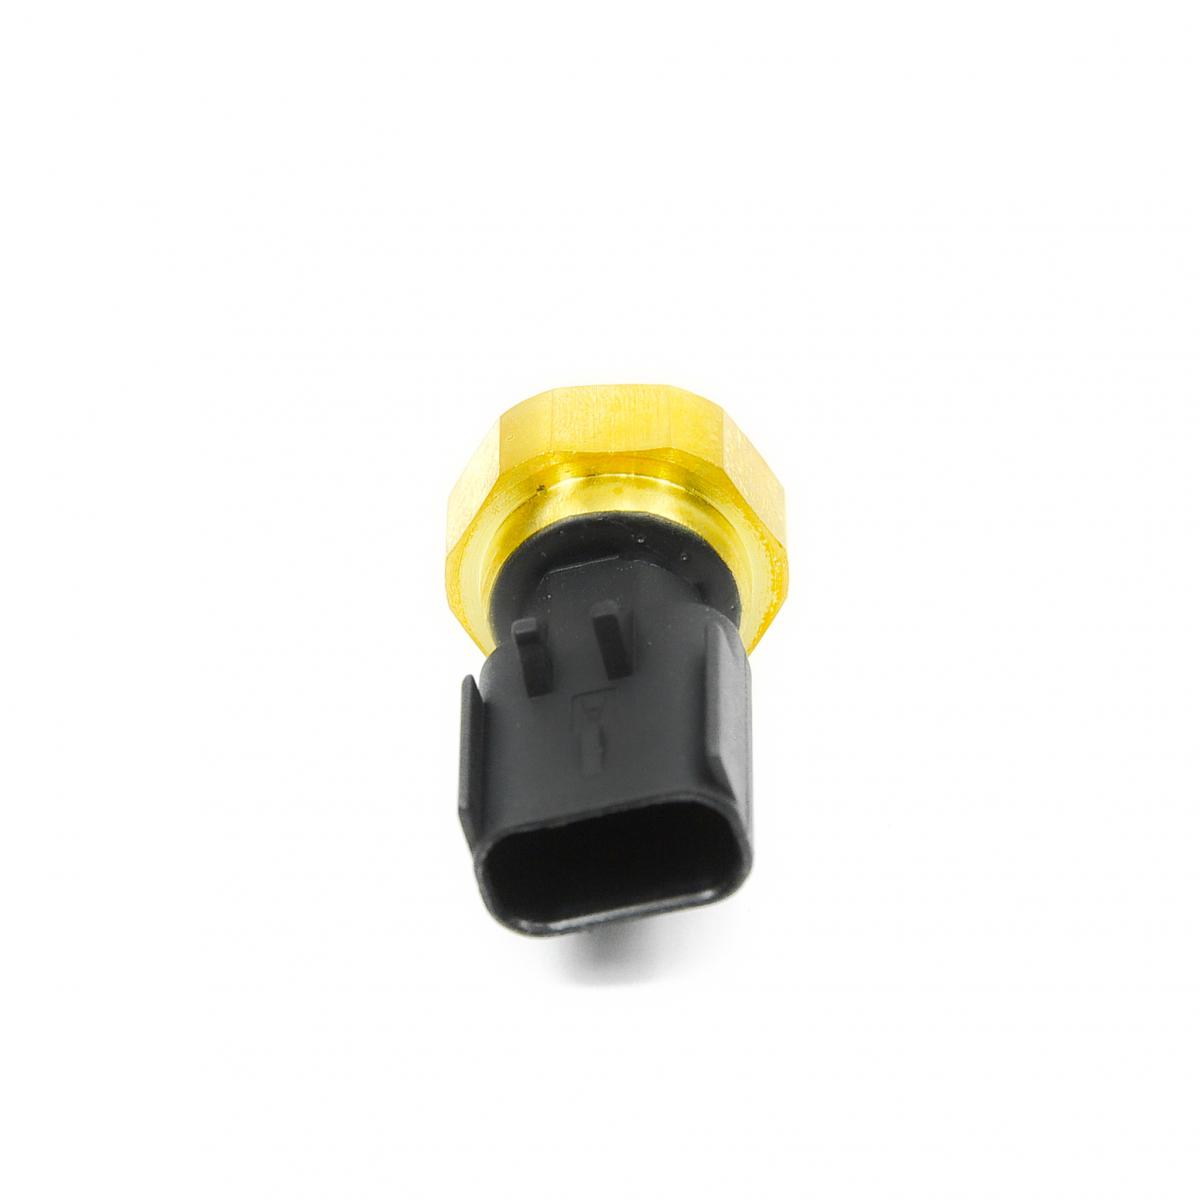
The SWITCH ASSY OIL is an engine oil pressure switch or sensor threaded into the main oil gallery — typically at the cylinder block, oil filter housing, or cylinder head — that monitors the pressurised oil circuit and signals the driver or the ECU when oil pressure drops below the minimum threshold required for adequate hydrodynamic lubrication of the crankshaft main bearings, connecting rod bearings, and camshaft journals. Two principal designs are in current production and serve different functions: the simple oil pressure warning switch is a normally-closed or normally-open single-contact device containing a diaphragm and a calibrated spring-loaded contact that opens or closes at a fixed pressure threshold — typically 0.3–0.5 bar — switching the instrument cluster warning light circuit directly; this design provides only a binary low-pressure warning without any pressure level information. The variable-output oil pressure sensor — also called a sender unit — uses a piezoresistive or strain gauge element bonded to a steel diaphragm that deflects proportionally under oil pressure, producing a continuous resistance or voltage output that the instrument cluster uses to drive an analogue oil pressure gauge needle across its full scale, or that the ECU uses to monitor oil pressure for engine protection and oil change reminder functions. On modern engines both types may be present simultaneously — a warning switch for the dashboard warning light circuit and a sender for the gauge — each threaded into a separate port in the oil circuit.
This unit — CHRYSLER 05149062AA — is manufactured to OEM-equivalent specifications: thread size and pitch for the oil gallery boss, switching pressure threshold or resistance-pressure characteristic curve, diaphragm pressure rating, connector pinout, housing material and corrosion treatment for the engine bay thermal environment, and sealing washer type are matched to the original part. Supplied as a direct replacement for standard fitment. Available wholesale from 4.06 USD, MOQ 100 pcs, production lead time 56 days.
Oil pressure switches and sensors fail through diaphragm perforation from metal particles circulating in degraded oil — a perforated diaphragm allows oil to contact the electrical contacts or fill the sensor bore, causing the warning light to illuminate permanently or the gauge to read incorrectly; through contact corrosion in the warning switch design that causes the contacts to remain closed regardless of actual pressure, producing a spurious low-pressure warning; and through thread seal failure that produces an oil leak at the sensor base. A confirmed oil leak at the sensor body combined with a warning light requires immediate attention — a leaking sensor in an underbonnet position can drip oil onto the exhaust manifold, creating a fire risk.
- Verify actual oil pressure with an external mechanical gauge before replacing the sensor — connect a calibrated mechanical gauge to the oil gallery port (temporarily removing the existing sensor) and measure actual oil pressure at idle and at 2,000 RPM; compare against the OEM specification — typically 1.0–2.0 bar at idle and 3.0–5.0 bar at 2,000 RPM; a genuine low-pressure condition requires oil pump, bearing clearance, and oil level investigation before sensor replacement; replacing a sensor when genuine low pressure exists delays diagnosis of a mechanically critical fault.
- Allow the engine to cool before removing the oil pressure sensor — the sensor is threaded into the pressurised oil gallery; removing it from a hot engine releases pressurised oil at operating temperature; on a cold engine the system pressure is zero and oil release is minimal; always confirm the engine has been off for at least 30 minutes before removing the sensor from any gallery position.
- Use the correct sensor socket — typically a thin-wall hex socket of the exact sensor body hex size — oil pressure sensors have a smaller hex than an equivalent-thread spark plug and require a dedicated sensor socket; a standard hex socket that contacts the sensor body edges rather than the full hex faces rounds the hex corners and may crack the sensor body; never use adjustable pliers on a sensor hex.
- Apply PTFE tape or specified thread sealant to the sensor thread before installation only where required by the OEM specification — many oil pressure sensors seal on a copper or aluminium crush washer at the sensor base and do not require thread sealant; applying PTFE tape to a crush-washer-sealed sensor prevents the washer from seating correctly and may cause an immediate oil leak; confirm the sealing method from the OEM parts data before applying any thread preparation.
- Torque the new sensor to the OEM specification using a torque wrench — typically 15–25 Nm; undertightening allows oil to seep past the thread seal; overtightening cracks the sensor body housing or strips the aluminium thread in the engine block gallery boss, requiring Helicoil repair; the OEM torque value is particularly important for sensors with crush-washer sealing where the correct washer compression is critical for sealing.
- Install the new SWITCH ASSY OIL (CHRYSLER 05149062AA), reconnect the wiring connector, start the engine and immediately confirm the oil pressure warning light extinguishes within 3 seconds of start; confirm the gauge reads in the normal operating range; check for oil leaks at the sensor thread with the engine at operating temperature and pressure; clear any stored oil pressure fault codes with a scan tool before returning the vehicle to service.
| Part | Reason for Combined Replacement |
|---|---|
| Engine Oil and Filter Grade and specification per OEM requirement | An oil pressure sensor that has failed from metal particle perforation of its diaphragm indicates the oil circuit contains abrasive metallic debris. These particles will perforate the new sensor's diaphragm at the same rate as the original if the contaminated oil is not replaced. Always perform a complete oil and filter change simultaneously with pressure sensor replacement when diaphragm perforation is the confirmed failure mode — not just top-up, but a full drain and refill with fresh oil of the correct specification. |
| Oil Pressure Gauge or Instrument Cluster OEM ref. varies — where gauge remains incorrect after sender replacement | If the oil pressure gauge continues to read incorrectly after confirmed sender replacement and verified correct wiring, the fault has moved to the gauge element or instrument cluster circuit. On older vehicles with electromagnetic gauge movements, the gauge coil may have an open-circuit winding that mimics a sender failure; on modern CAN-bus cluster designs, the displayed oil pressure value is calculated by the cluster ECU from the sender voltage — a cluster that has stored an incorrect calibration value may read incorrectly despite a correct sensor output. |
| Oil Filter Housing Gasket or O-Ring Application-specific — where sensor is mounted in filter housing | On many modern engines the oil pressure sensor is threaded into the oil filter housing rather than the engine block. Accessing the sensor for replacement disturbs the filter housing and its sealing gasket or O-ring. Replace the filter housing gasket simultaneously with the sensor to prevent an oil leak at the housing-to-block joint — a leak that would require a second filter housing removal to correct. |